Installing Moodle Guide on Windows XAMPP
Get 1000000 0FP0EXP Token to remove widget entirely!
Get 500000 0FP0EXP Token to remove my NFTS advertisements!
In my previous guide, I wrote a tutorial of installing Moodle learning management system (LMS) on my preferred server operating system (OS) for general users Ubuntu, a Debian based Linux. If you really do not want to try Ubuntu and go ahead with Windows, here I provide a tutorial that was my undergraduate assignment in 2013. Yes, it is behind times but they are still similar where you can maneuver the difference yourself. Another side, if this tutorial does not serve as a guide, then it can serve as a memory for those who are curious of how XAMPP 1.8.1 and Moodle 2.3.2 is back then.
Download XAMPP on http://www.apachefriends.org/en/xampp-windows.html , and install. Open the control panel if already install, apache and mysql is necessary for localhost.
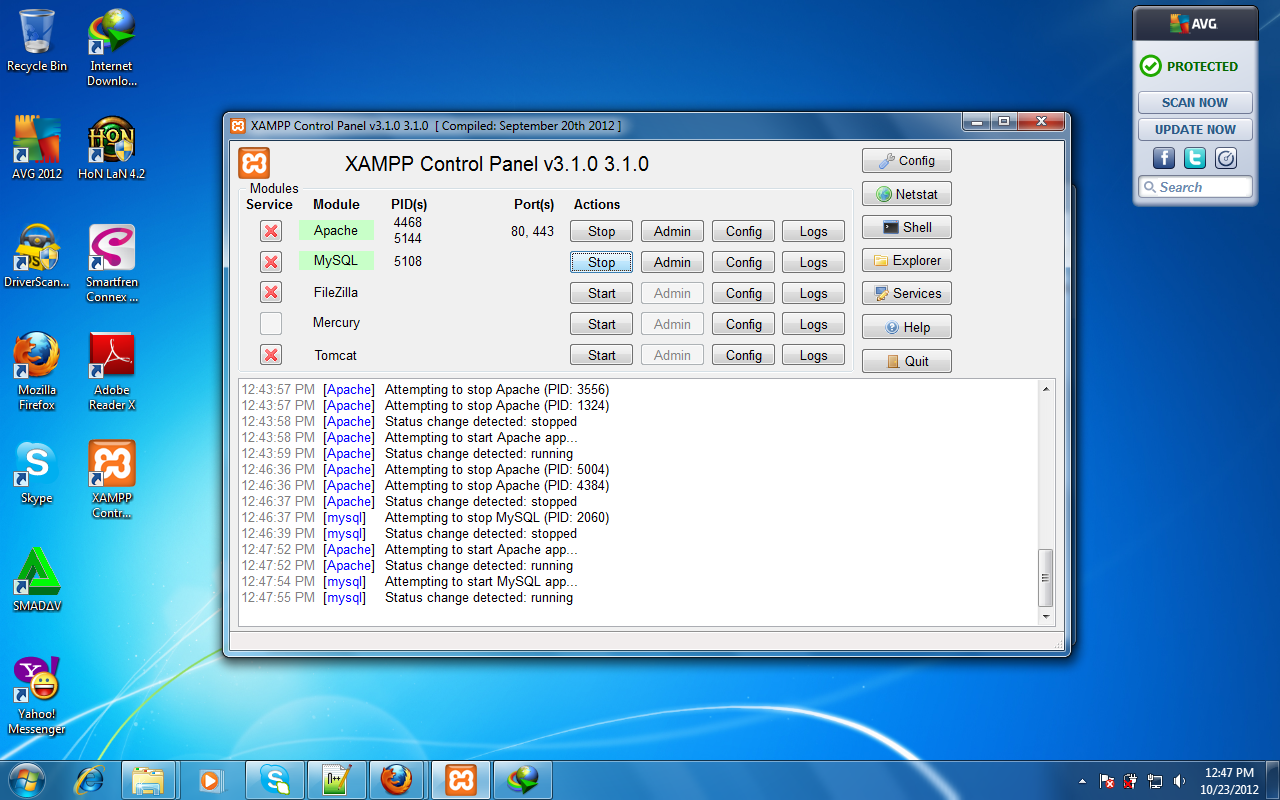
Figure 1. XAMPP control Panel version 3.1.0
Open your browser and type http://localhost, if succeeded it should look like below.
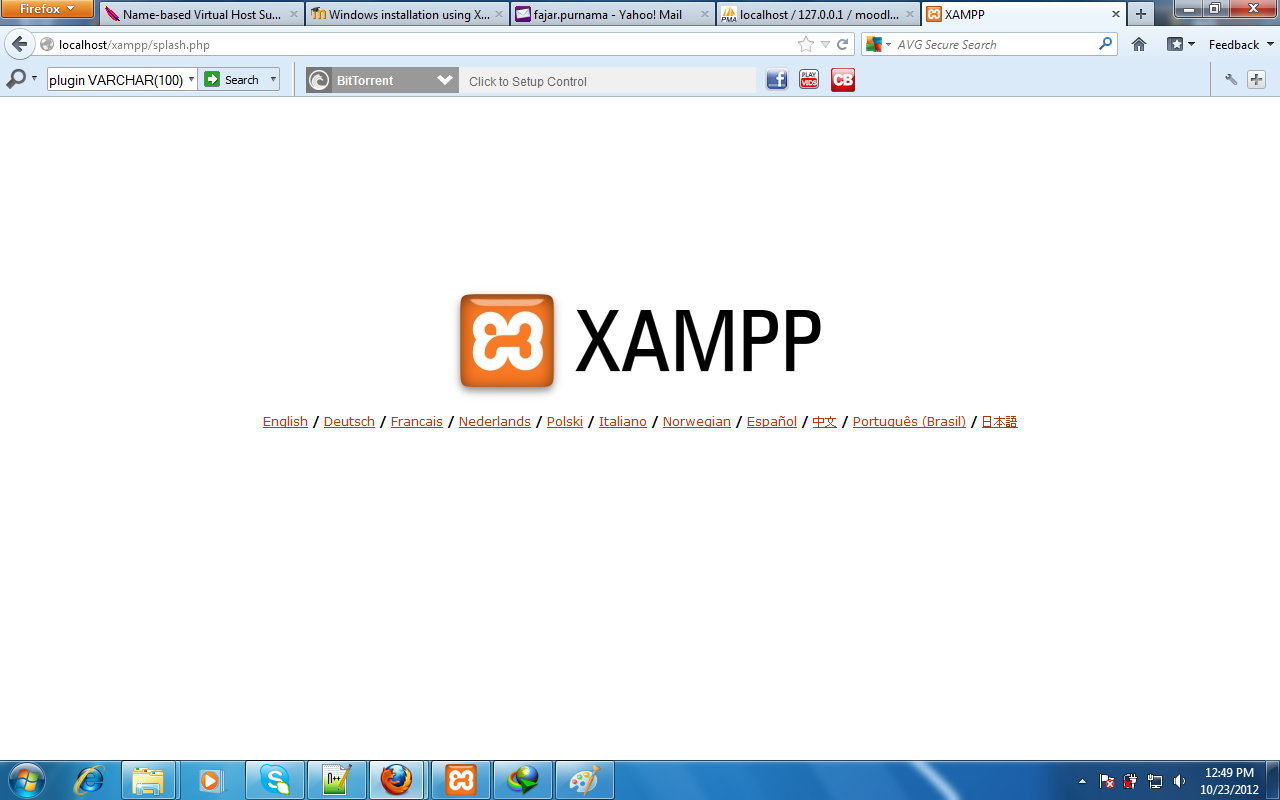
Figure 2. XAMPP Localhost frontpage
Open http://localhost/phpmyadmin Go to database and add your moodle’s database.

Figure 3. adding moodle’s database
Download Moodle at https://download.moodle.org/ and extract them to C:xampp\htdocs
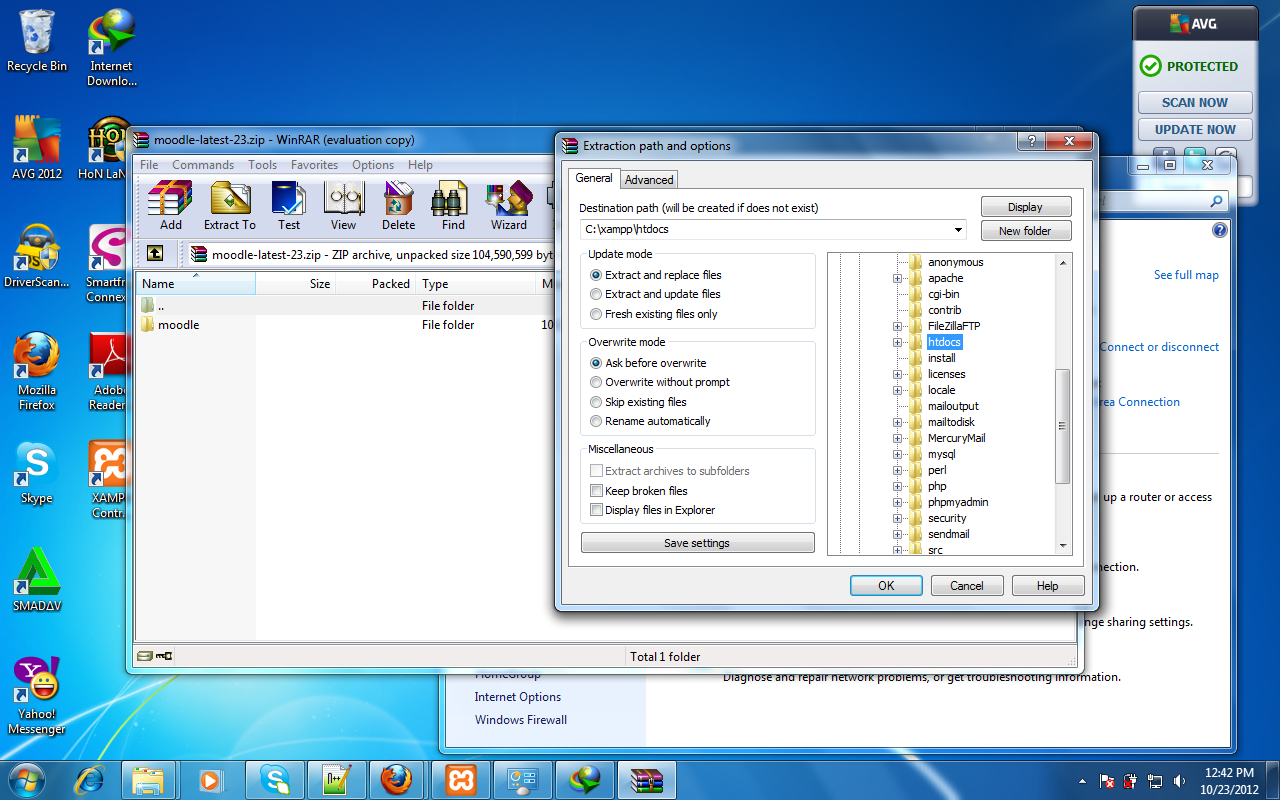
Figure 4. extracting moodle folder to localhost
On your browser open http://localhost/moodle and follow the installation which should be similar to my previous guide with just different version.

Figure 5. moodle installation choose language
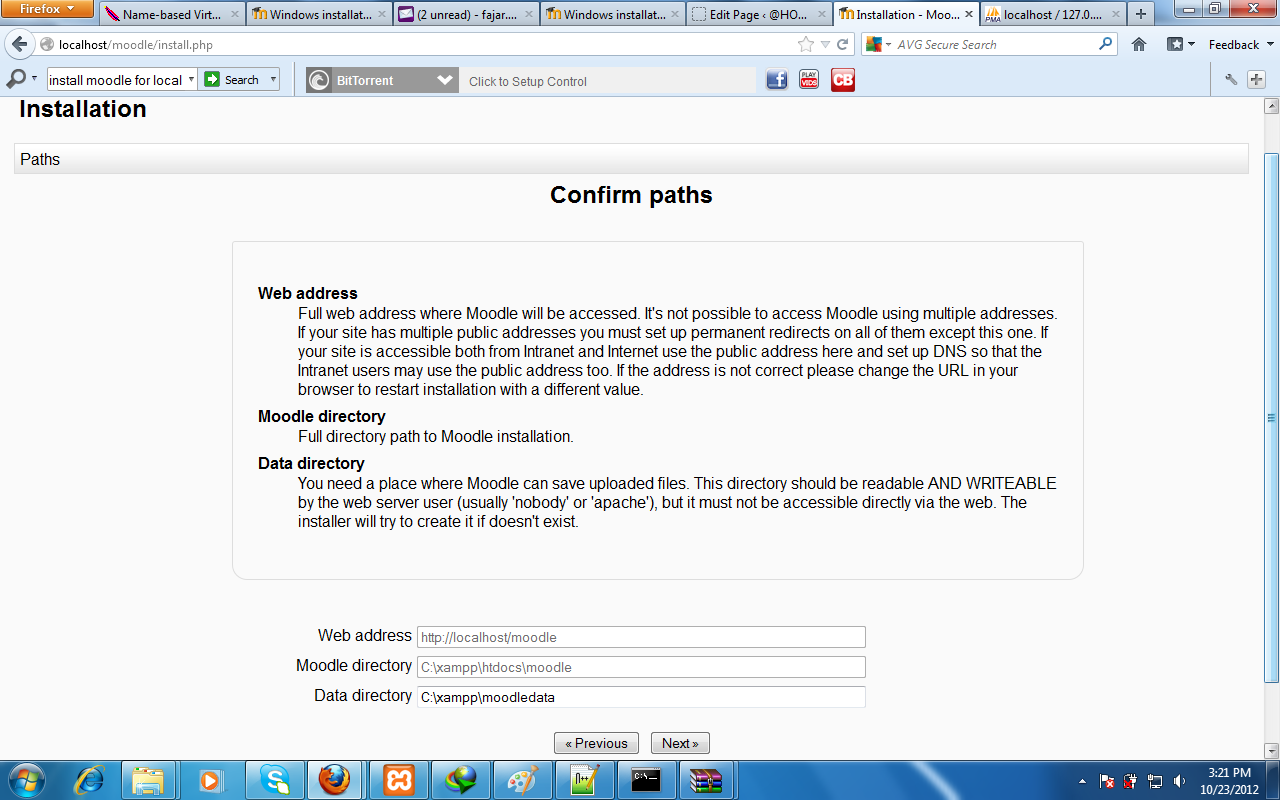
Figure 6. moodle installation directory path
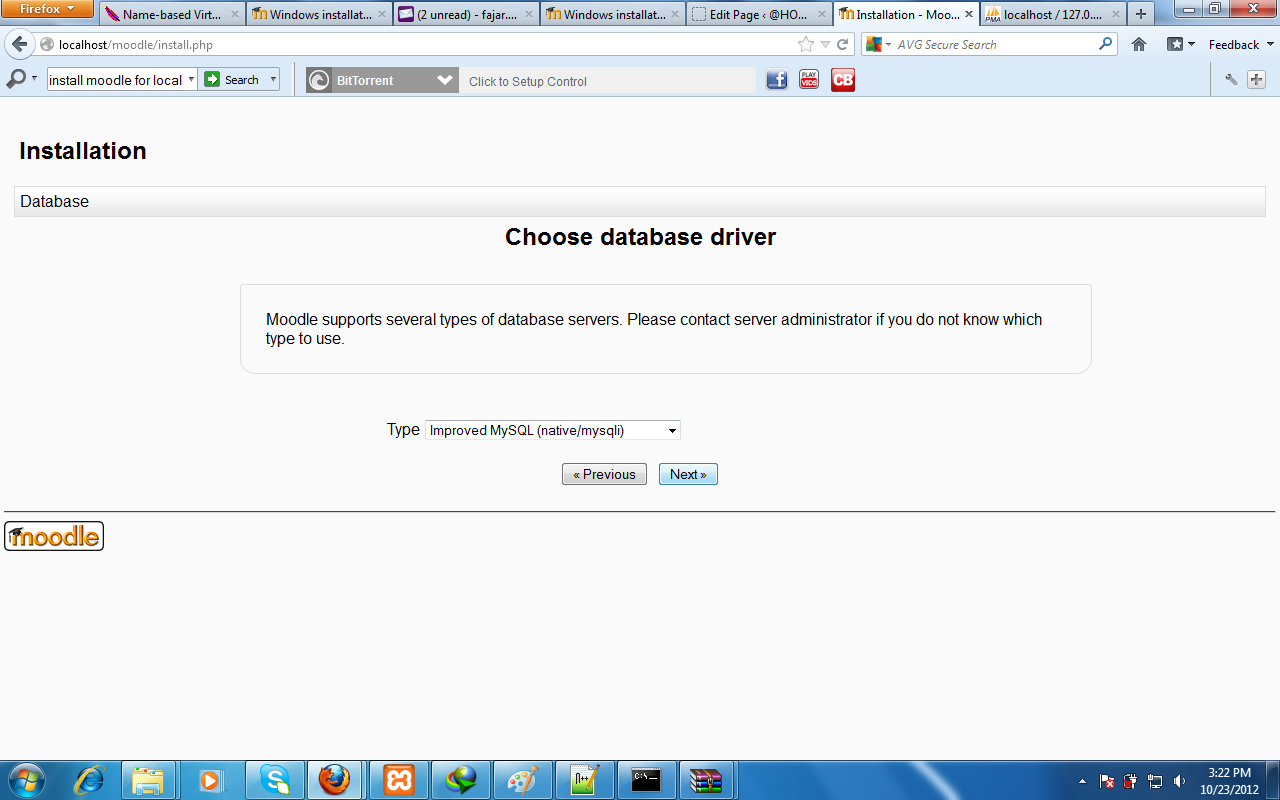
Figure 7. moodle installation choose database driver
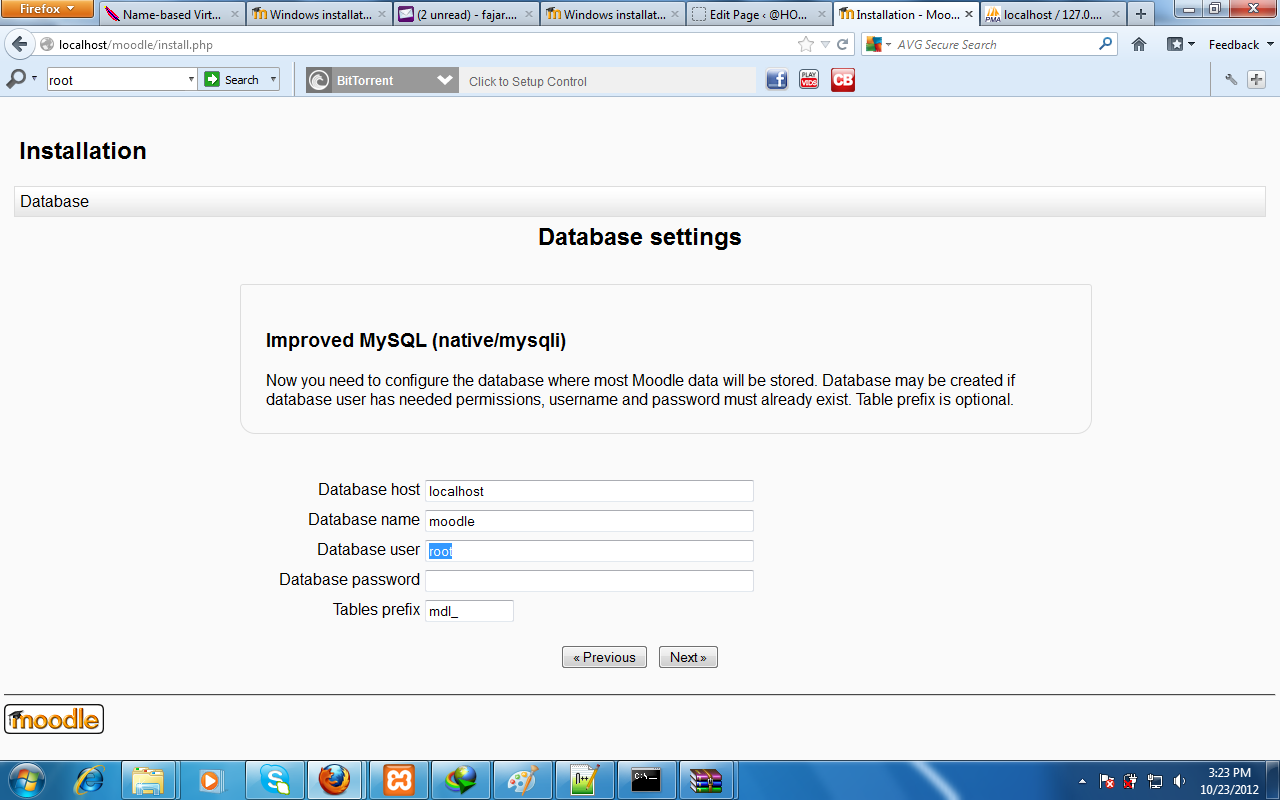
Figure 8. moodle installation database setting
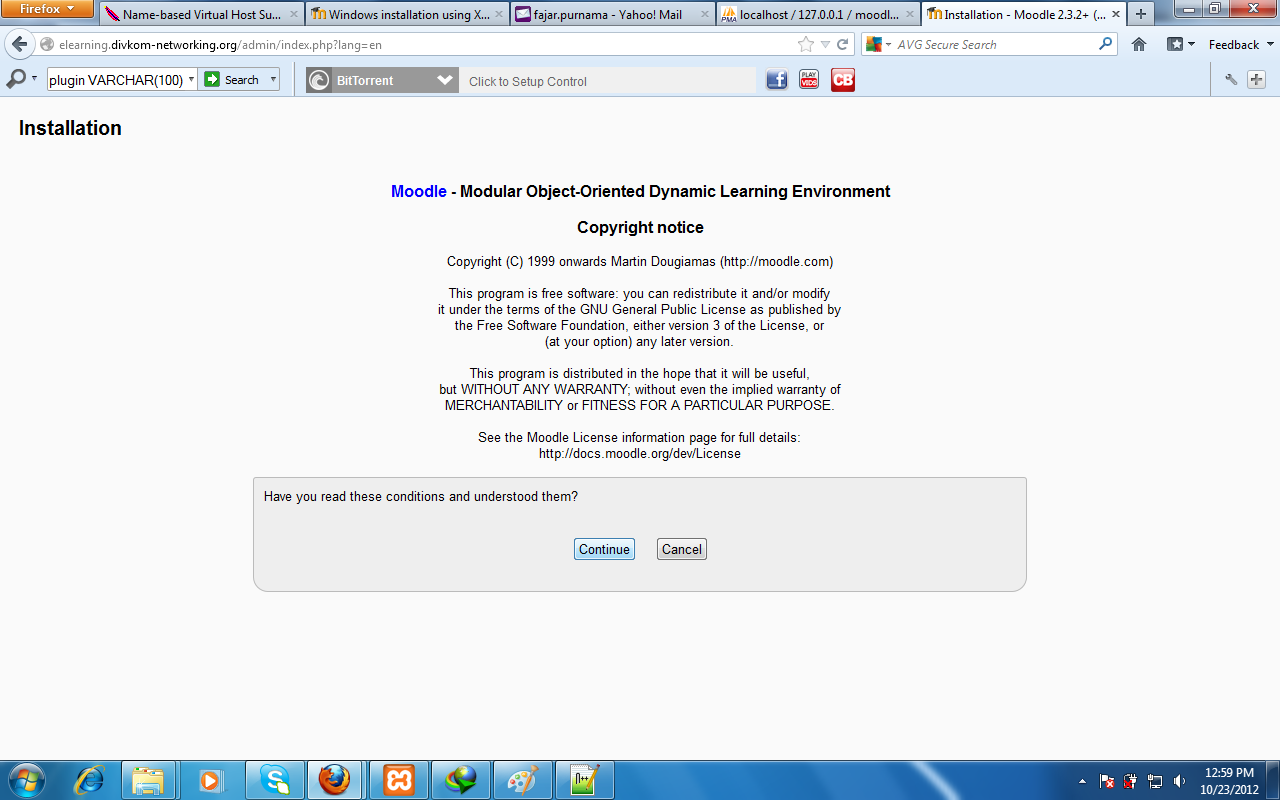
Figure 9. moodle installation copyright notice
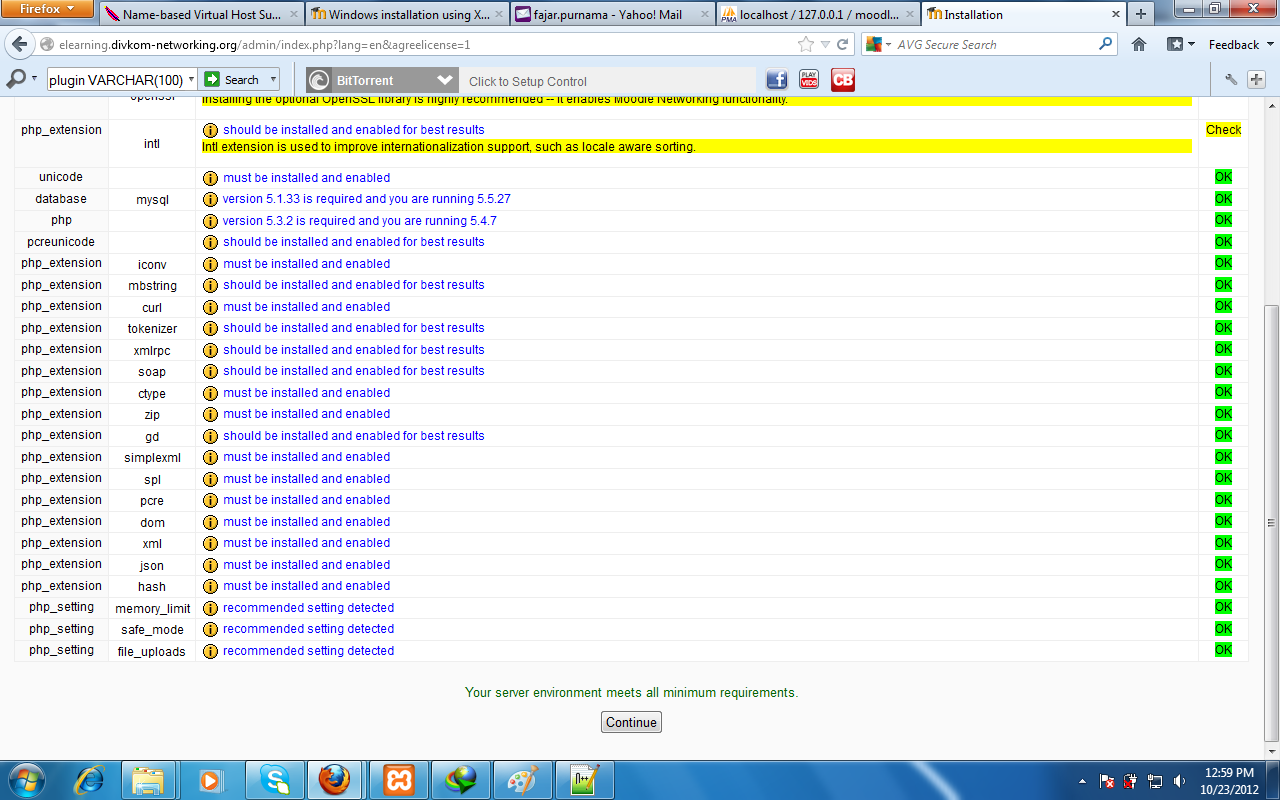
Figure 10. moodle installation final check
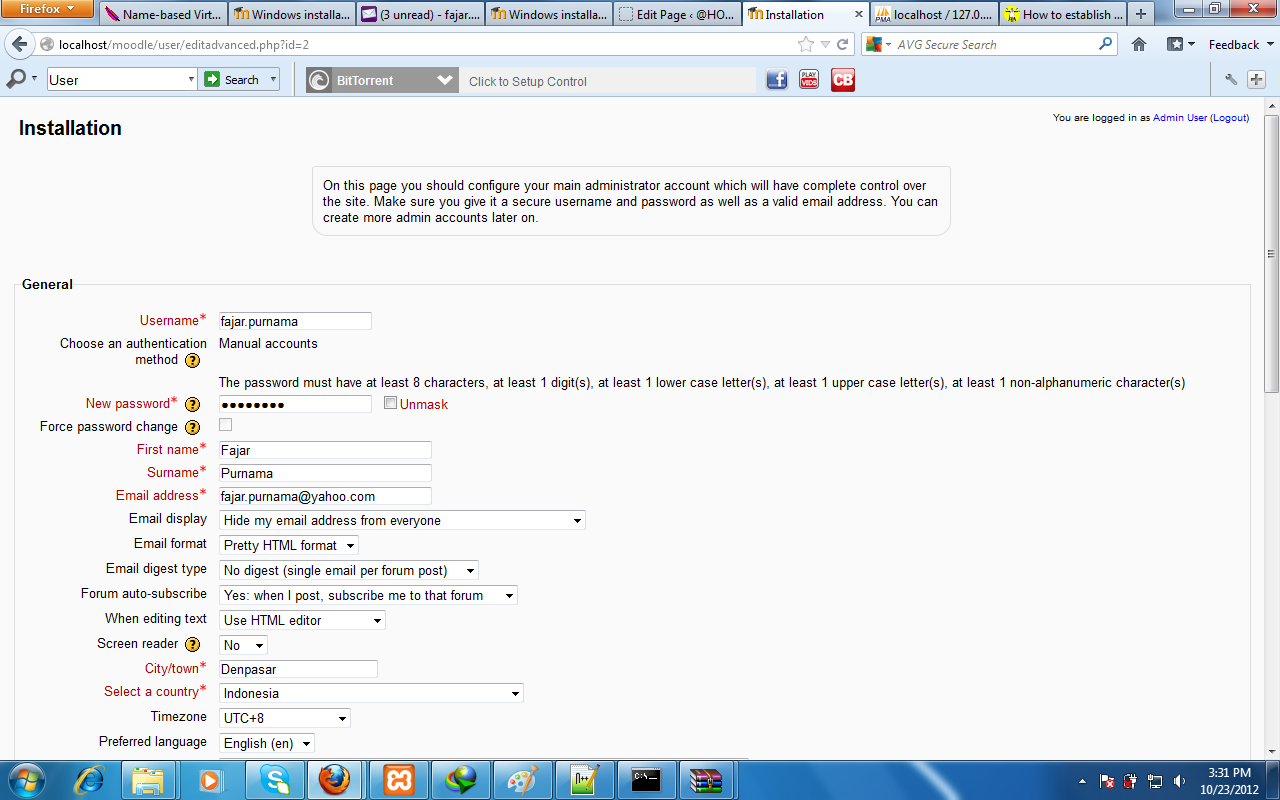
Figure 11. insert admin profile after successful installation
For moodle to be available in local area network open with notepad C:xamppmoodle\config.php and change the following line:
$CFG->wwwroot = ‘http://localhost/moodle’; to your ip address, $CFG->wwwroot = ‘http://172.16.150.45/moodle’;
DON’T FORGET “http”. That was my mistake. Oh and today it is “https” so do keep up with modern times.
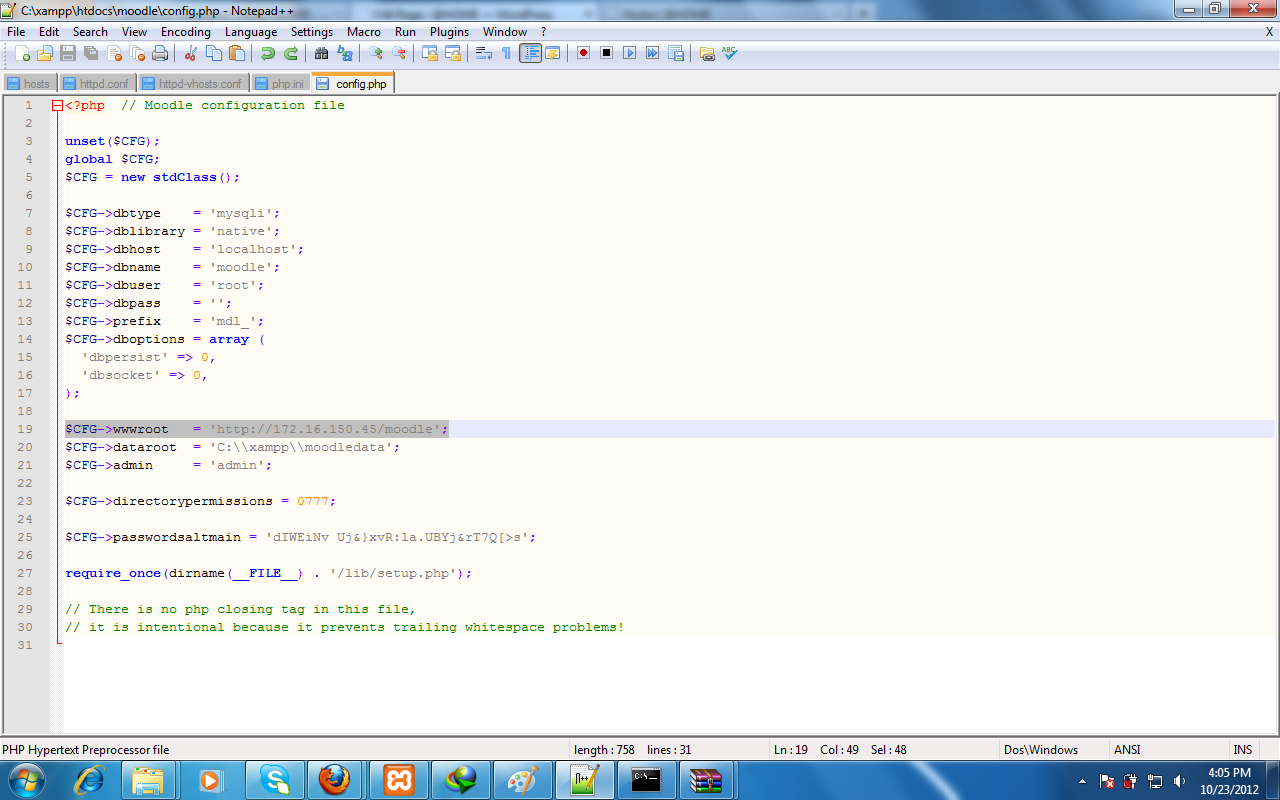
Figure 12. enabling moodle for local area network
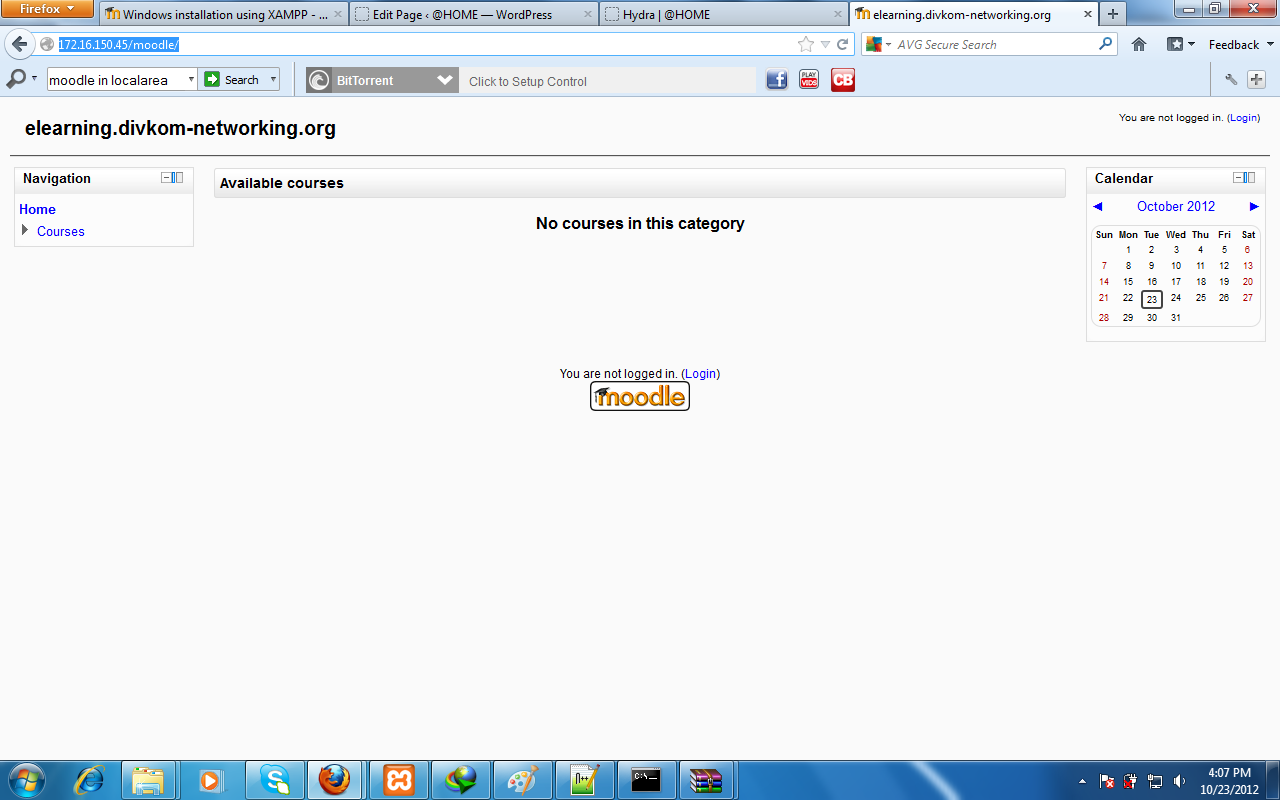
Figure 13. moodle for local area network
If you don’t know how to configure IP address, go to previous tutorial. Back in my undergraduate course, I was also asked to run Moodle on a local domain. Therefore, the following steps are additional but optional:
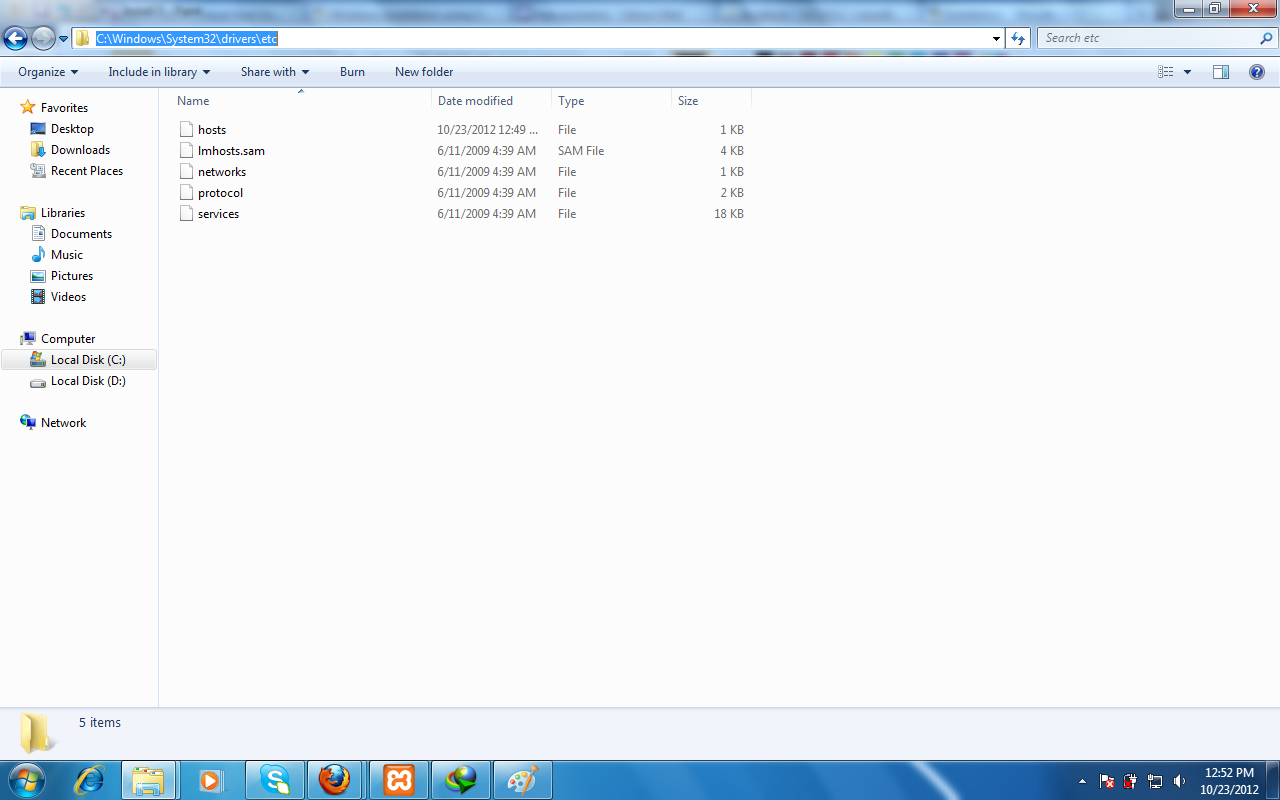
Figure 14. find C:\Windows\System32\drivers\etc\hosts
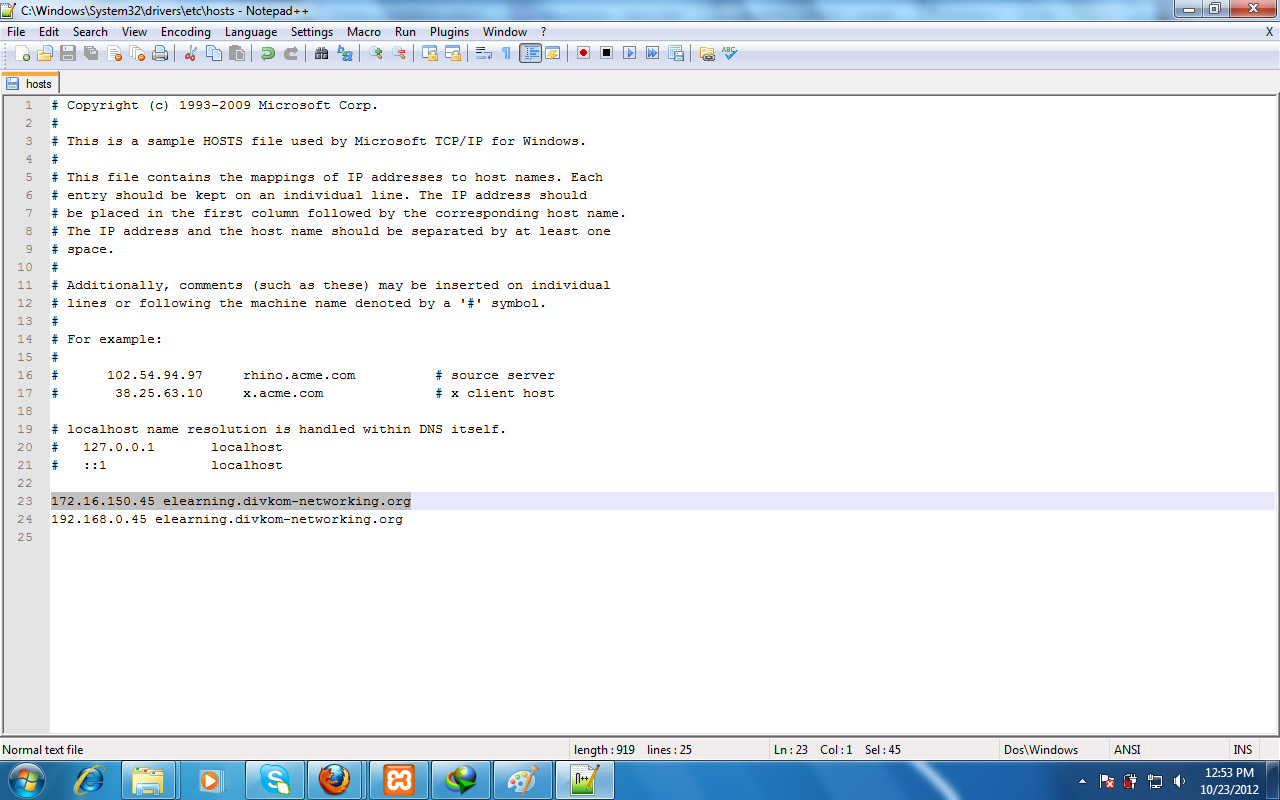
Figure 15. add your personal domain name ip address translation here
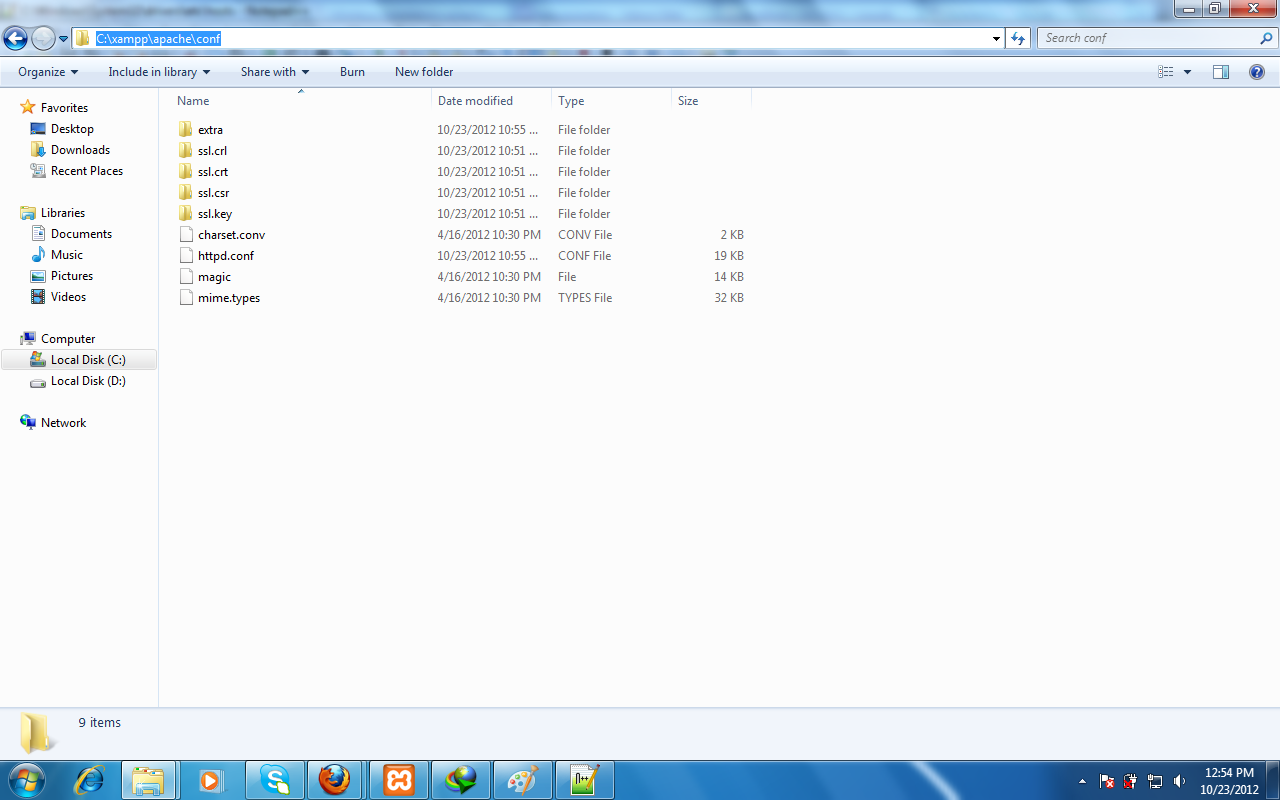
Figure 16. find C:\xampp\apache\conf\httpd.conf
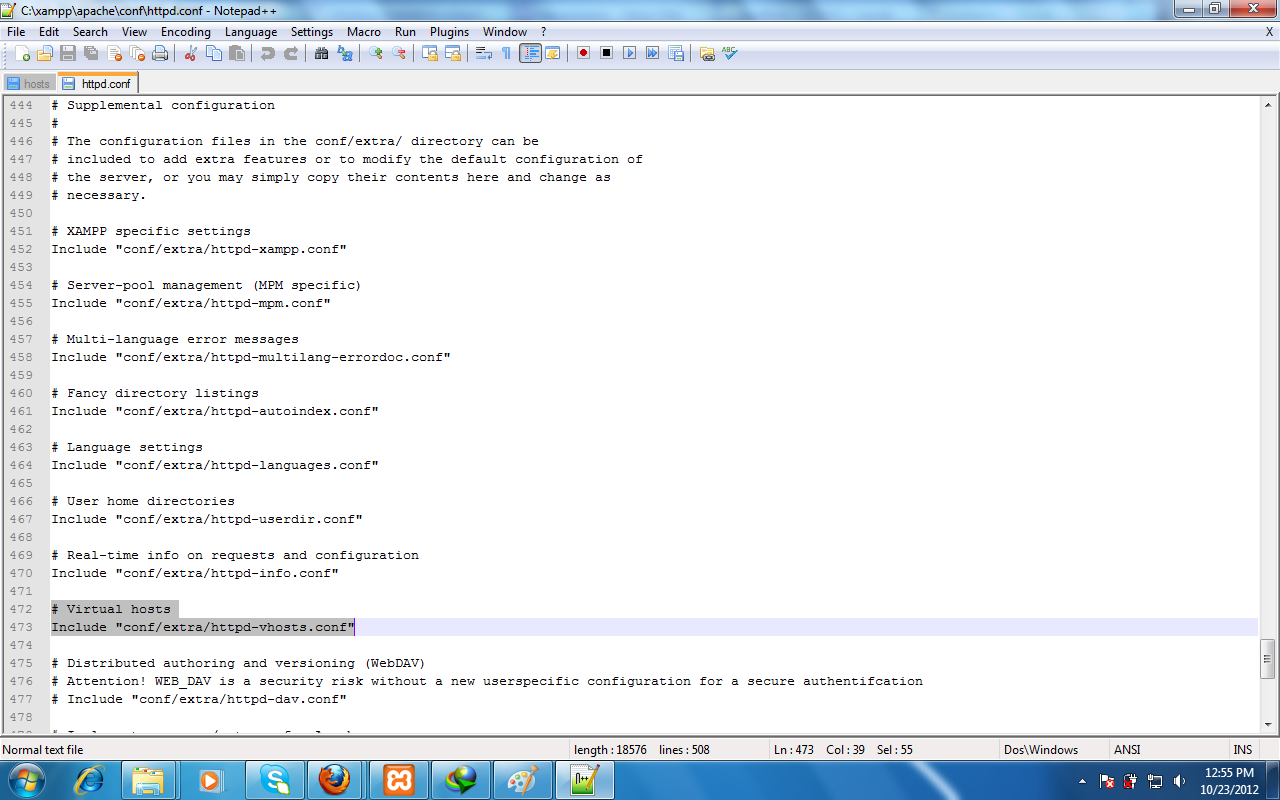
Figure 17. include vhost configuration file
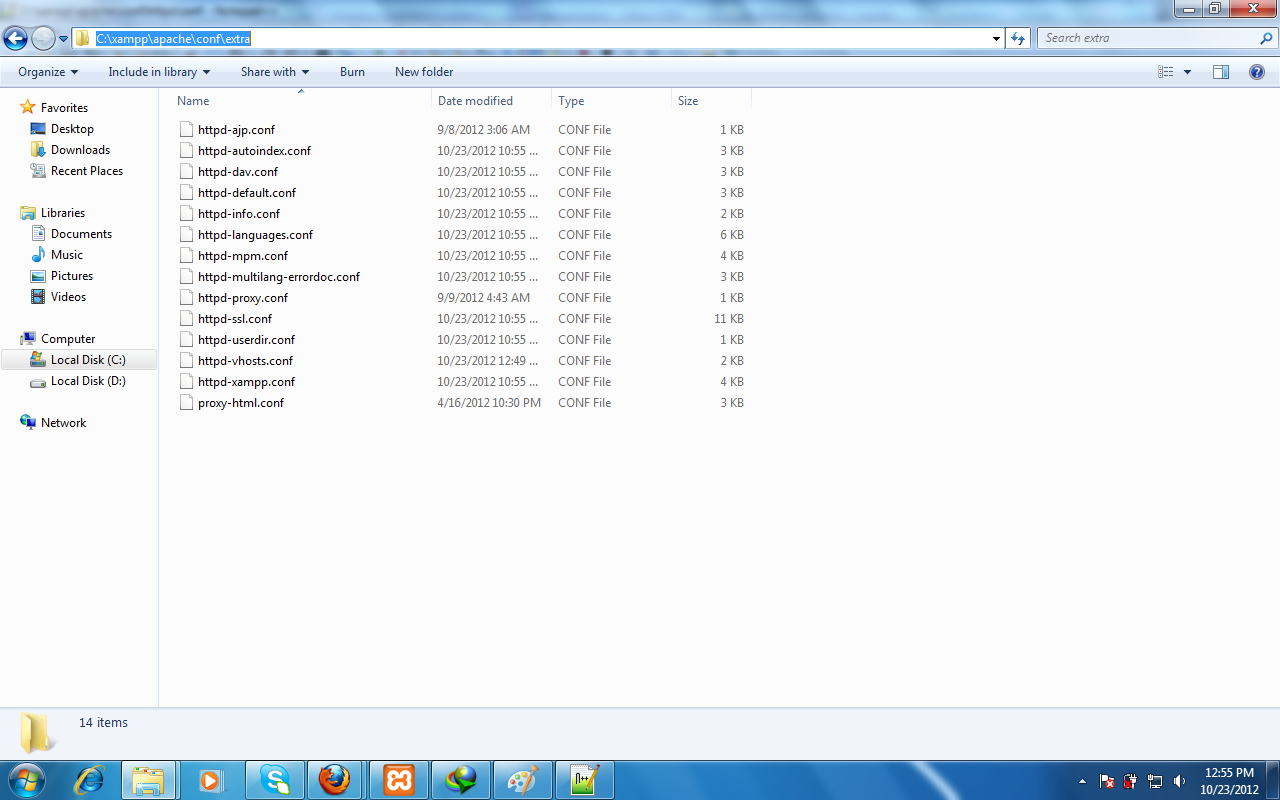
Figure 18. the vhost configuration file was in C:\xampp\apache\conf\extra\httpd-vhosts.conf
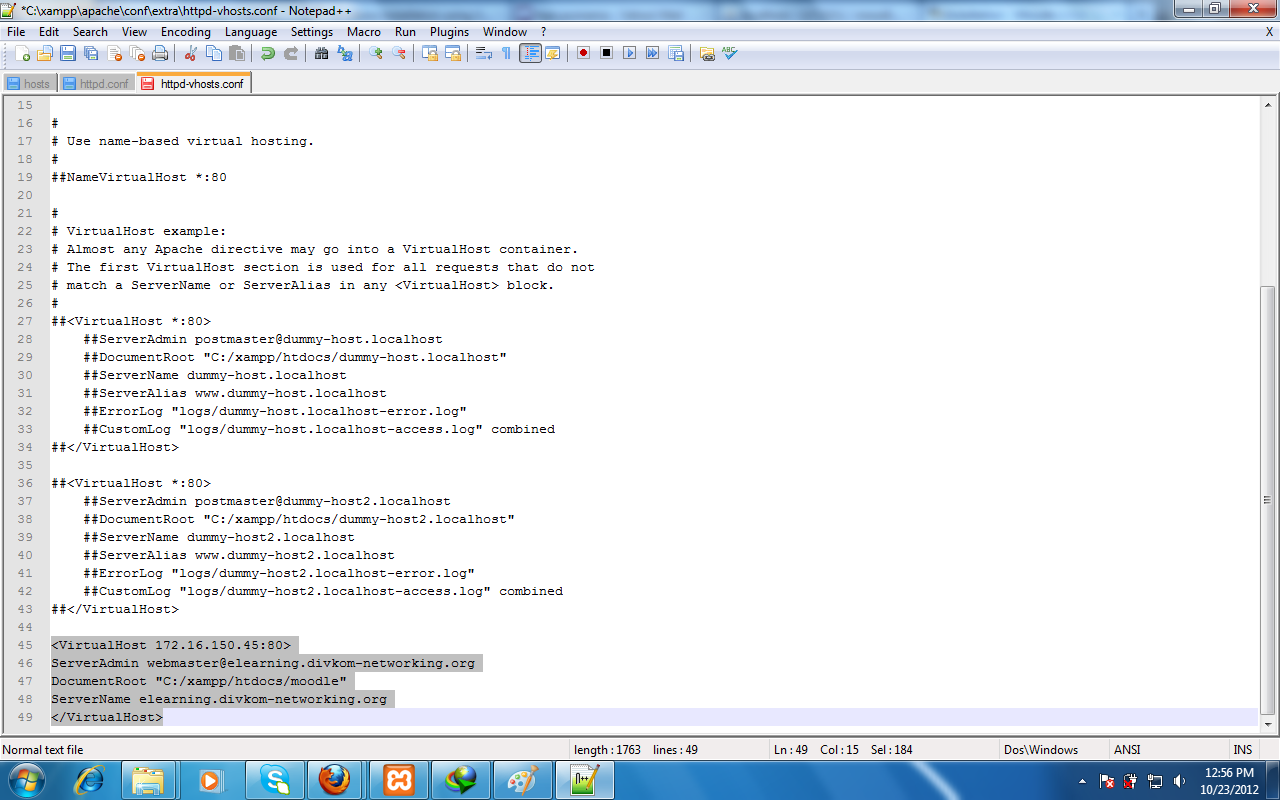
Figure 19. add the virtual host lines binding the ip address to the domain name
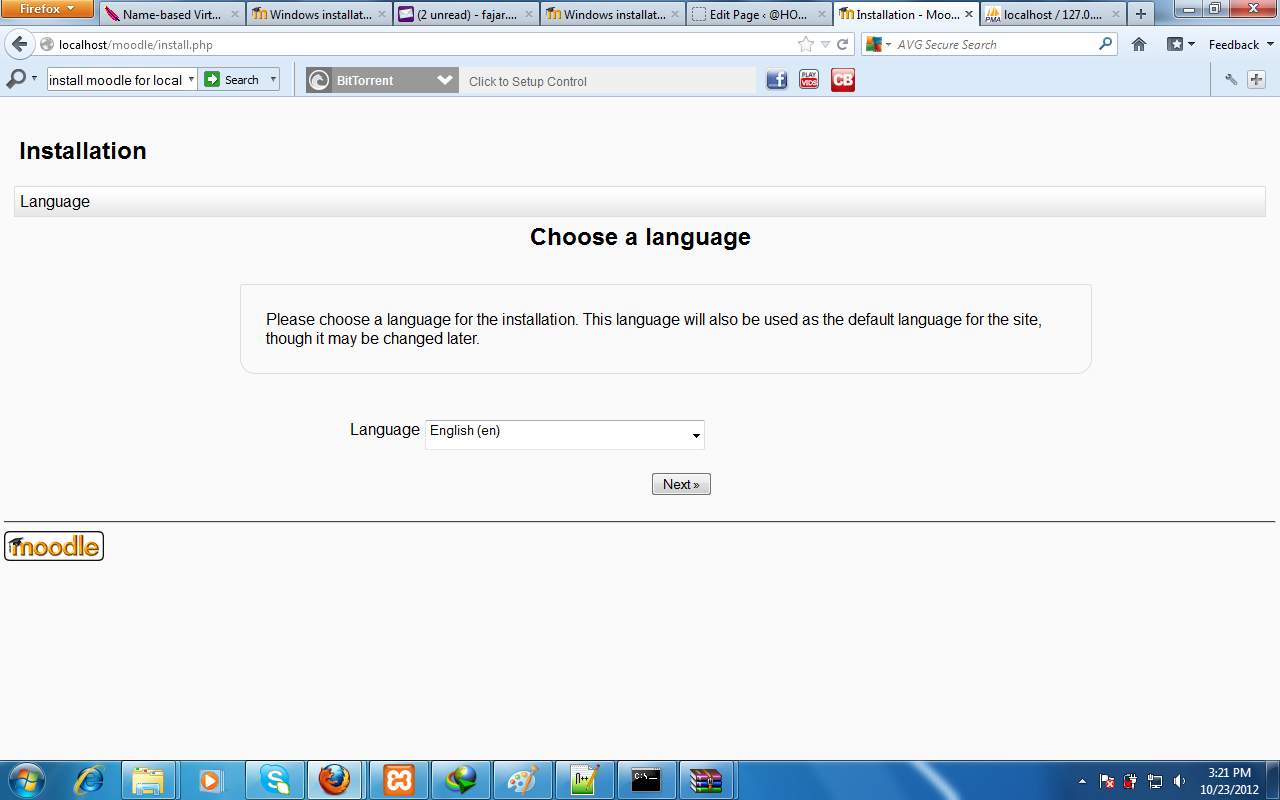
Figure 20. moodle with personal local domain name ready
Mirrors
- https://www.publish0x.com/0fajarpurnama0/installing-moodle-guide-on-windows-xampp-xnqlzlq?a=4oeEw0Yb0B&tid=github
- https://0darkking0.blogspot.com/2020/12/installing-moodle-guide-on-windows-xampp.html
- https://0fajarpurnama0.medium.com/installing-moodle-guide-on-windows-xampp-1556db7c87b7
- https://0fajarpurnama0.github.io/internet/2020/09/25/installing-moodle-guide-windows-xampp
- https://blurt.buzz/blurtutorials/@fajar.purnama/installing-moodle-guide-on-windows-xampp?referral=fajar.purnama
- https://stemgeeks.net/technology/@fajar.purnama/installing-moodle-guide-on-windows-xampp?ref=fajar.purnama
- https://steemit.com/technology/@fajar.purnama/installing-moodle-guide-on-windows-xampp?r=fajar.purnama
- https://hicc.cs.kumamoto-u.ac.jp/~fajar/internet/installing-moodle-guide-windows-xampp
- https://0fajarpurnama0.wixsite.com/0fajarpurnama0/post/installing-moodle-guide-on-windows-xampp
- http://0fajarpurnama0.weebly.com/blog/installing-moodle-guide-on-windows-xampp
- https://0fajarpurnama0.cloudaccess.host/index.php/13-computers-and-internet/144-installing-moodle-guide-on-windows-xampp
- https://read.cash/@FajarPurnama/installing-moodle-guide-on-windows-xampp-17d8c5de
- https://www.uptrennd.com/post-detail/installing-moodle-guide-on-windows-xampp~ODMyNzQy