Bypass Censorship By Proxy
Get 1000000 0FP0EXP Token to remove widget entirely!
Get 500000 0FP0EXP Token to remove my NFTS advertisements!
Figure 0. animation of how I see proxy works.
Description
Instead of going straight ahead to the destination address the packets turns around to the proxy server and processed there before going to the original destination. I use it because the connection in my country here doesn’t allow direct contact with certain sites, in short, blocked or censored. Ofcourse it won’t work also if the destination is blocked by the proxy server or to the proxy server itself is blocked.
Borrowing Web Proxy
Borrowing a web proxy is the next simple step to changing DNS. In this section is posted not the technical stuff but introduce web proxies available on the web. Below are steps of example web proxies or skip and go further below to watch the video.
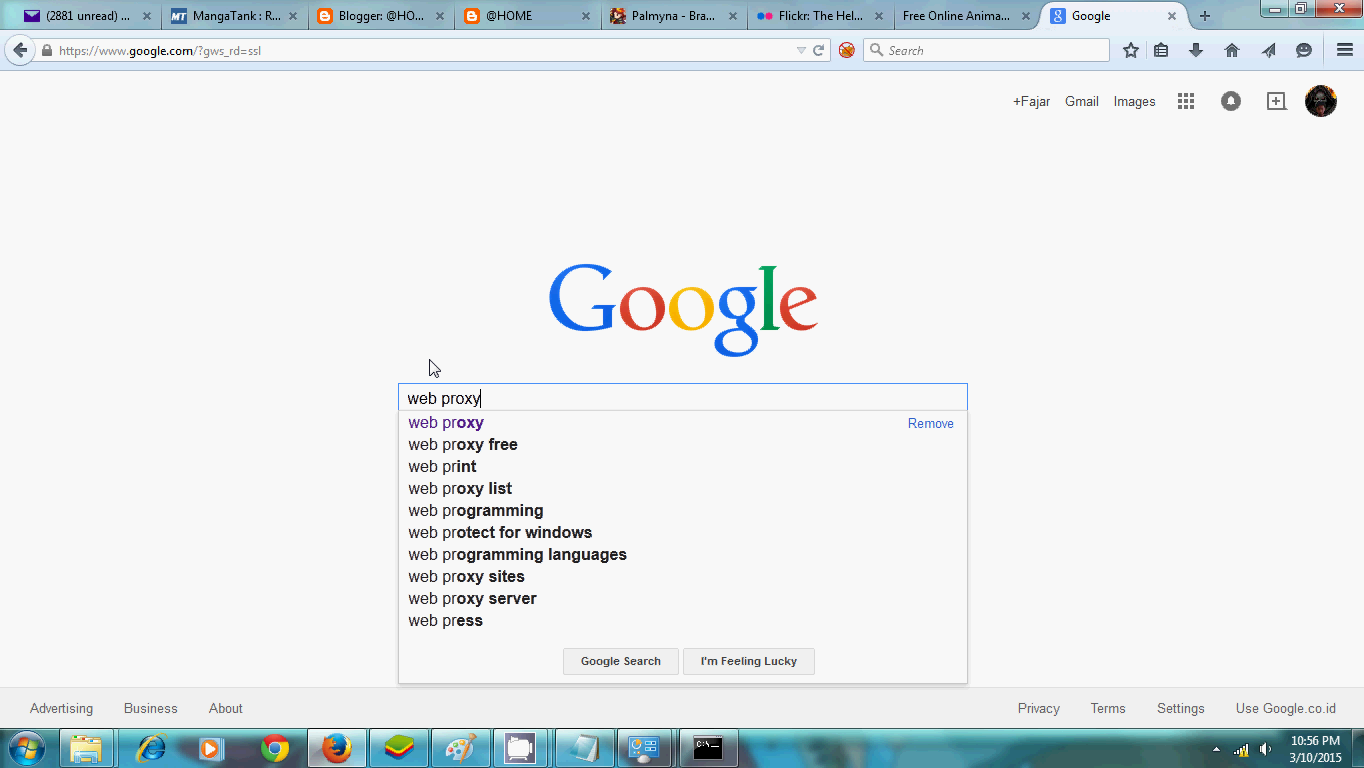
Figure 1. With internet connection open your browser and go to a search engine, here I used Google.
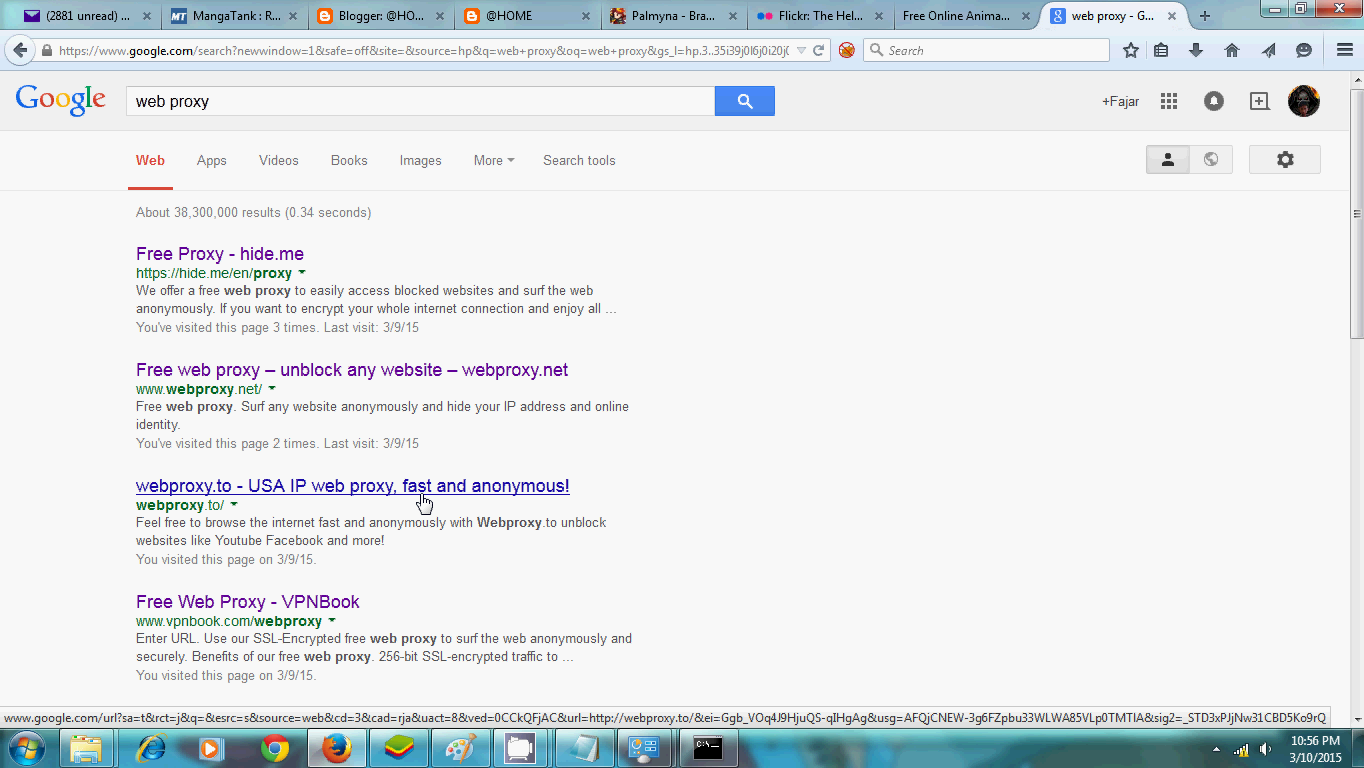
Figure 2. Type web proxy or something similar in the search bar.
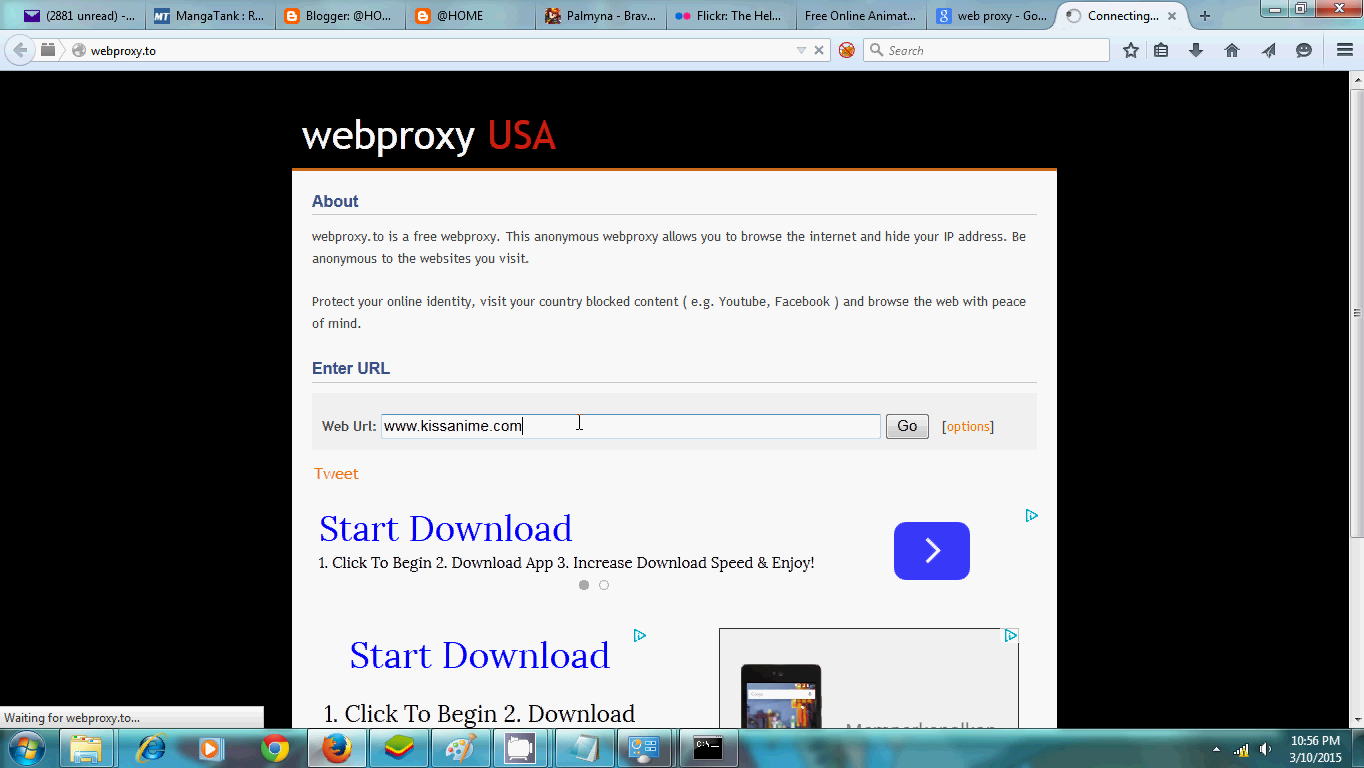
Figure 3. Pick one site that offers use of web proxy for example freeproxy.
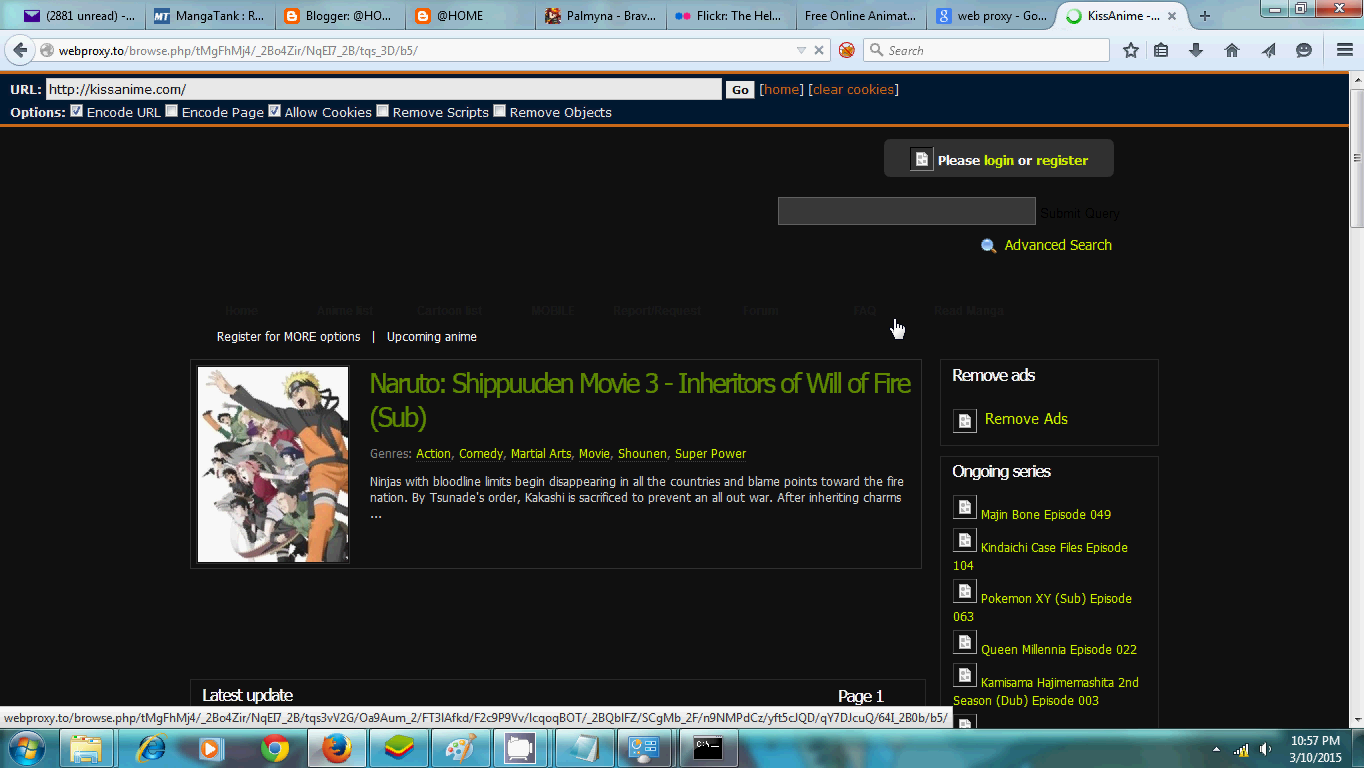
Figure 4. Type the site you want to go to.
Borrowing Network Proxy
While web proxies are hosted on webpages as interfaces, netwrok proxies are usually in form of IP addresses and ports. You need to find your proxy configuration in your browsers or operating systems to input the proxies’ IP addresses and ports. Below are examples in Windows:
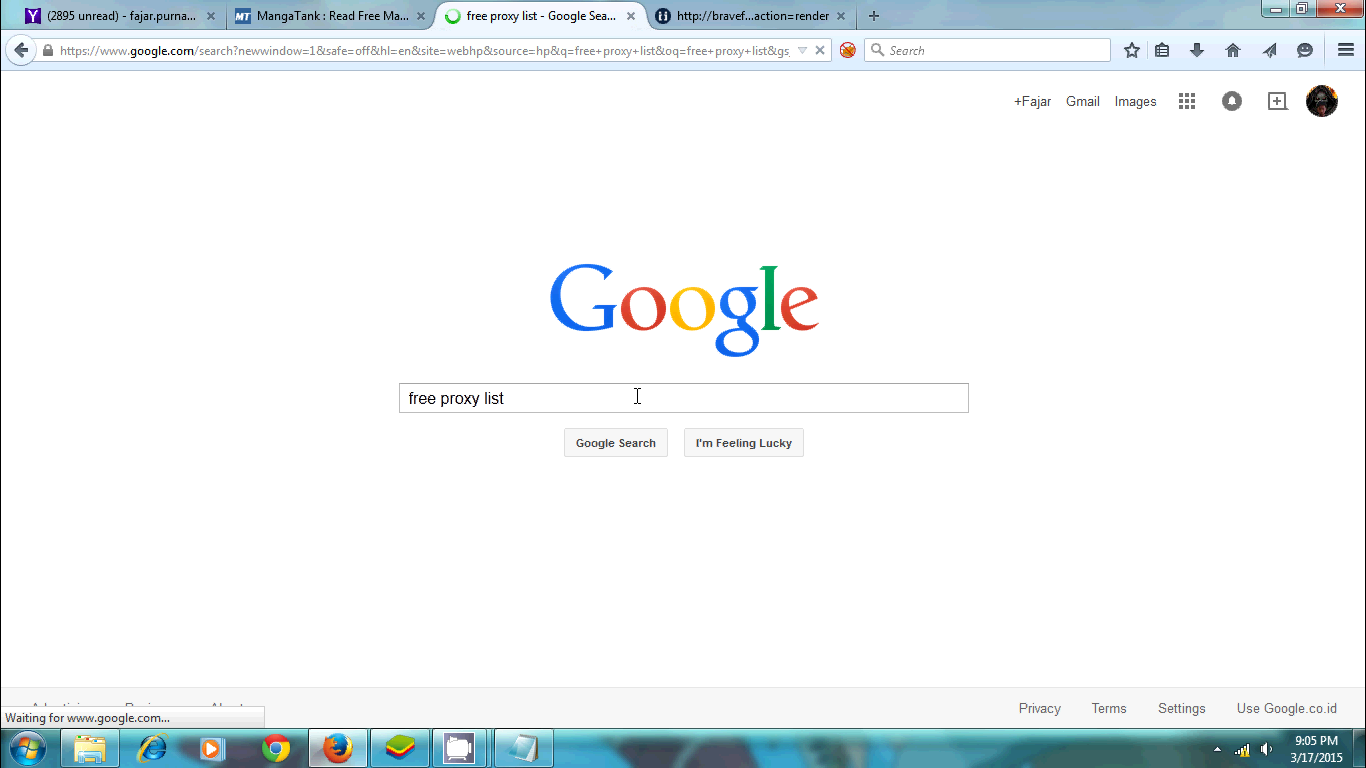
Figure 5. Open your browser and search for proxy list in search engine.
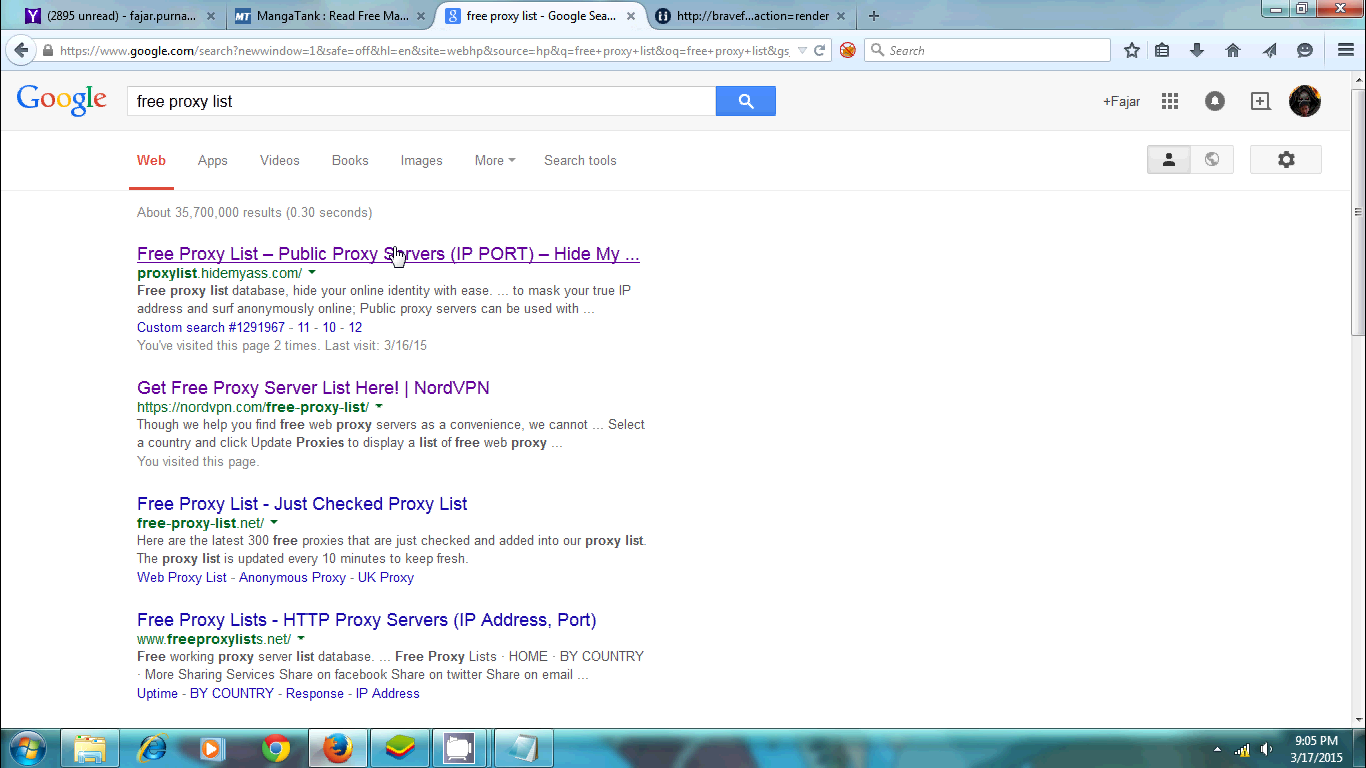
Figure 6. Pick one site that offers use of web proxy for example hidemyname.
,%20not%20all%20might%20work%20so%20you%20may%20have%20to%20try%20one%20by%20one.png)
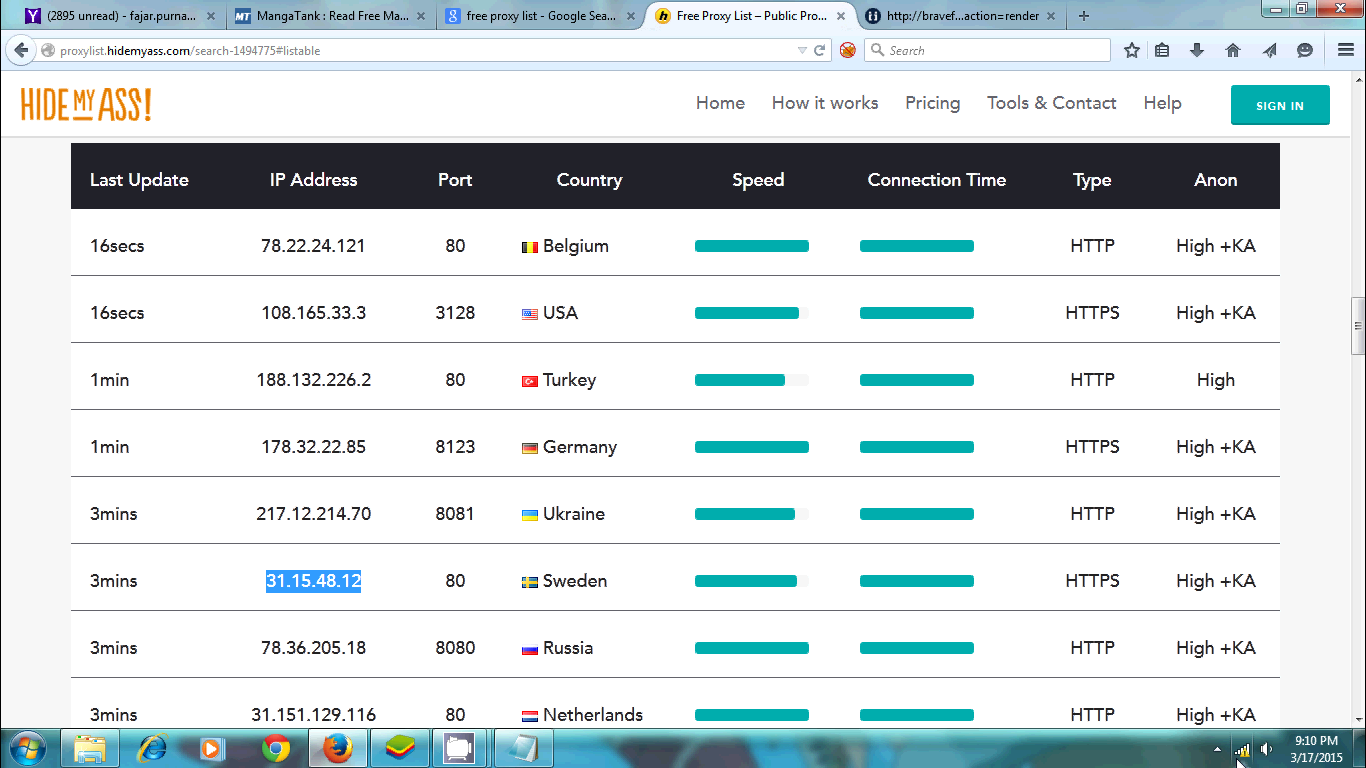
Figure 7. Pick one server (it’s IP address and port), not all might work so you may have to try one by one.
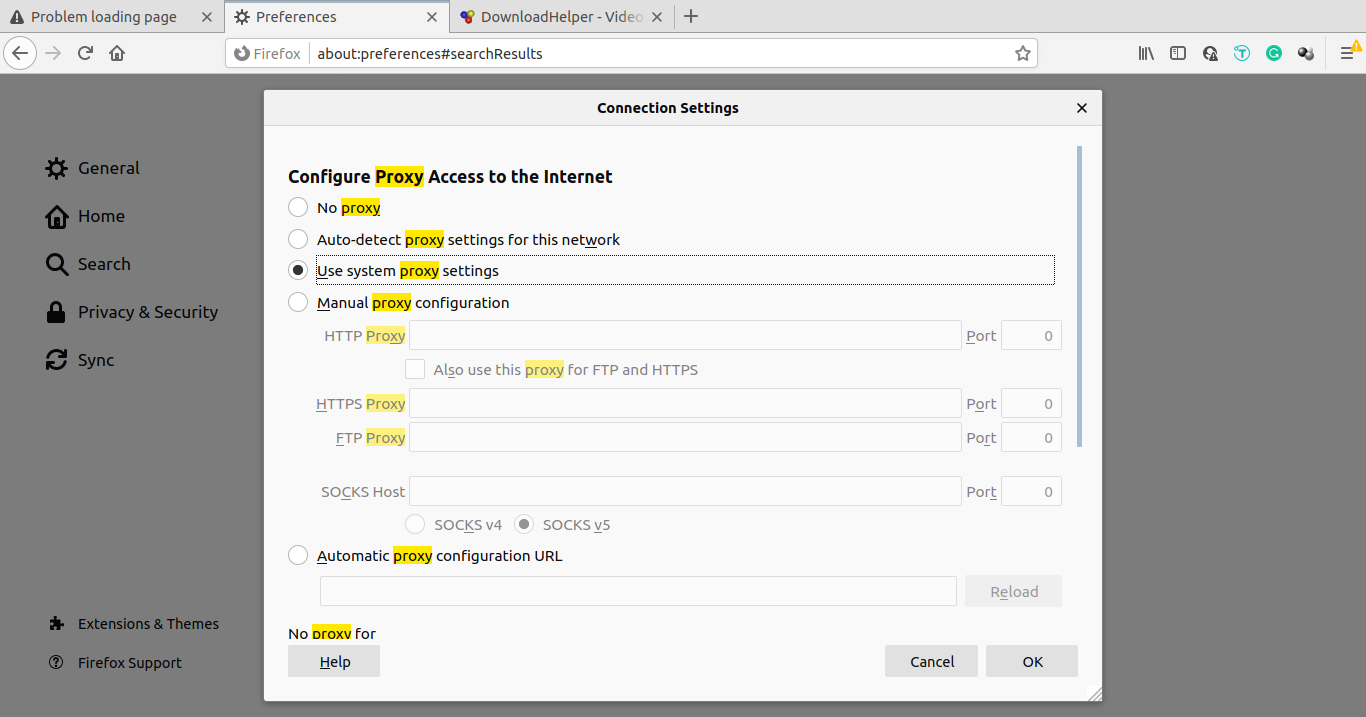
Figure 8. Here I set in my global Internet Connection. Make sure to set your browser use “system settings” under somewhere around > “option” > “network” > “setting” under connection, here also if you want to use the proxy server for browser only.
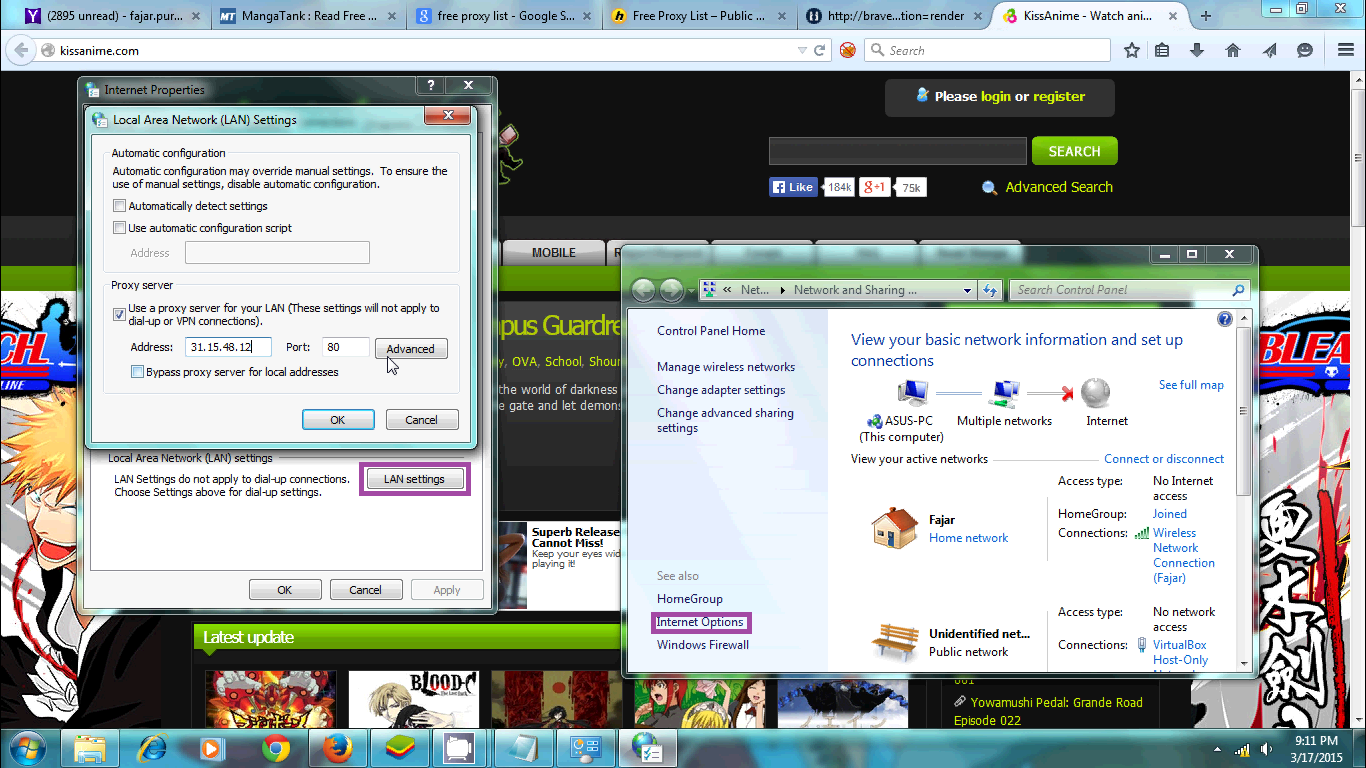
Figure 9. To use it global go to “network and sharing center” (follow my previous tutorial if you can’t find where it is) > “internet option” > “connections” > “LAN Setting” > “use proxy server”, then input the IP address and port. You can to advance for more features.
If you want to set them through command line (cmd) then try the following commands:
set HTTP_PROXY=http://proxy_userid:proxy_password@proxy_ip:proxy_port
set FTP_PROXY=%HTTP_PROXY%
set HTTPS_PROXY=%HTTP_PROXY%
Set them empty if you want to stop using proxy:
set HTTP_PROXY=
set FTP_PROXY=
set HTTPS_PROXY=
Setting Proxy in Linux
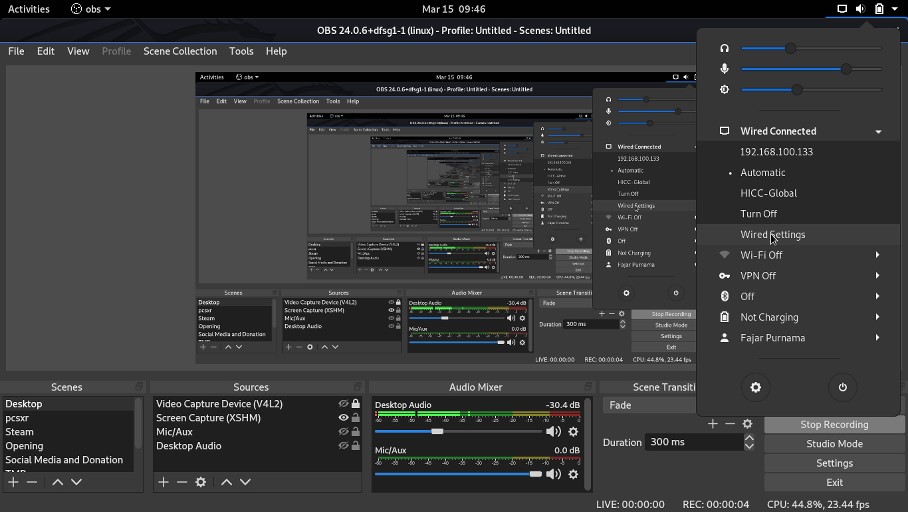
Figure 10. find your network manager from widget.

Figure 11. or find network manager from settings and press gear on desired profile.
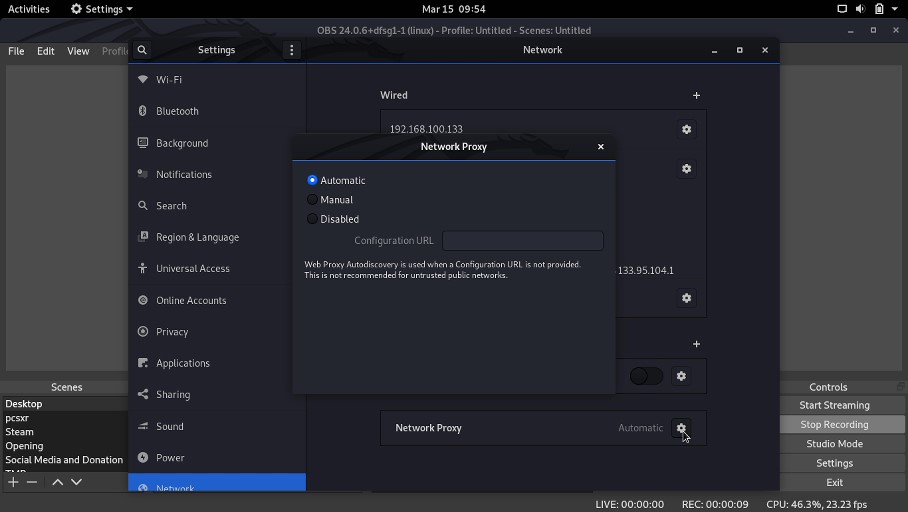
Figure 12. choose manual network proxy and put the ip address and port.
If you want to do it from terminal, then write the following into “/etc/environment”:
http_proxy="http://: @ : /" https_proxy="http:// : @ : /" ftp_proxy="http:// : @ : /" no_proxy="localhost,127.0.0.1,::1"
Setting Proxy in Android
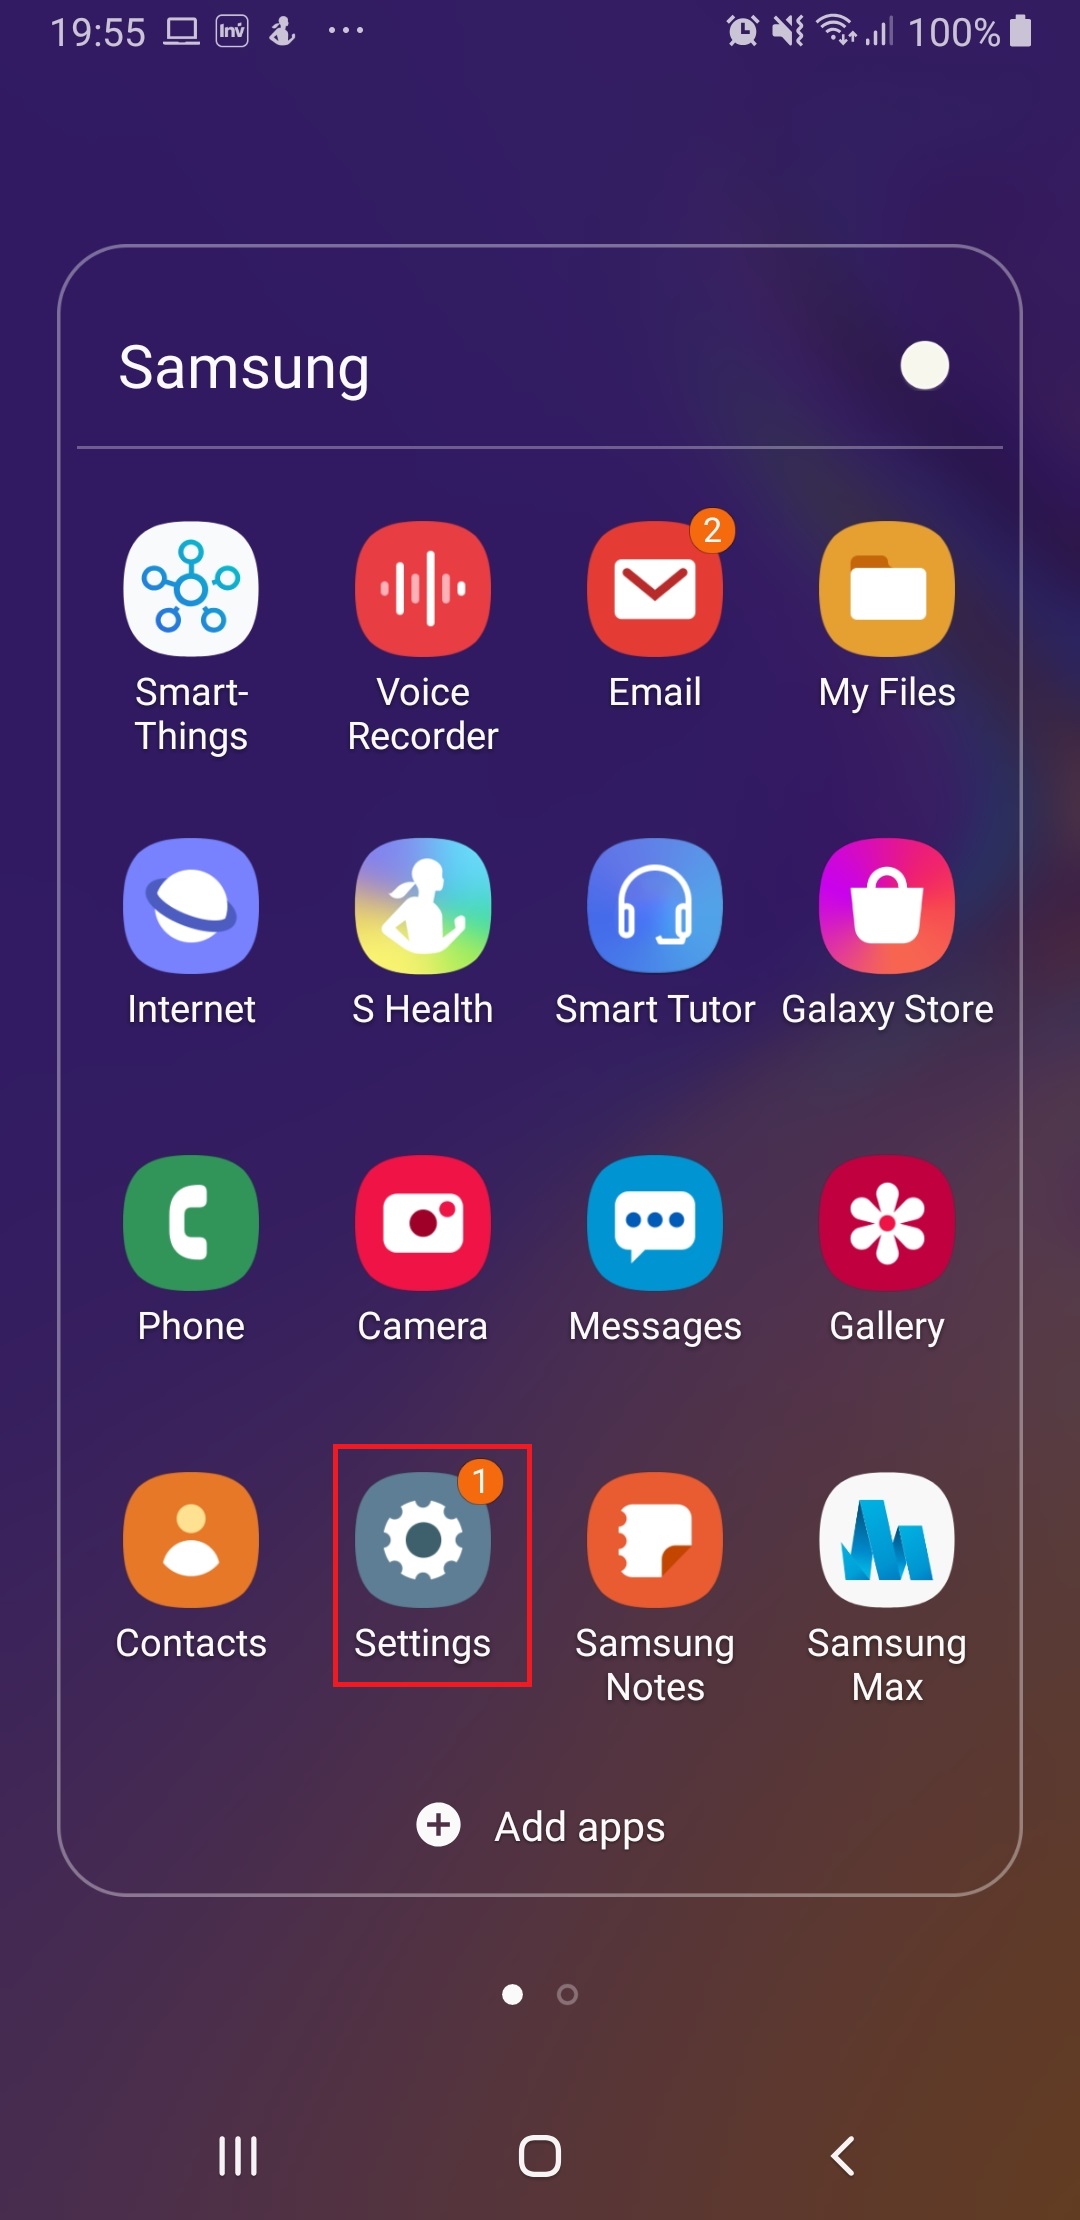
Figure 13. open settings.
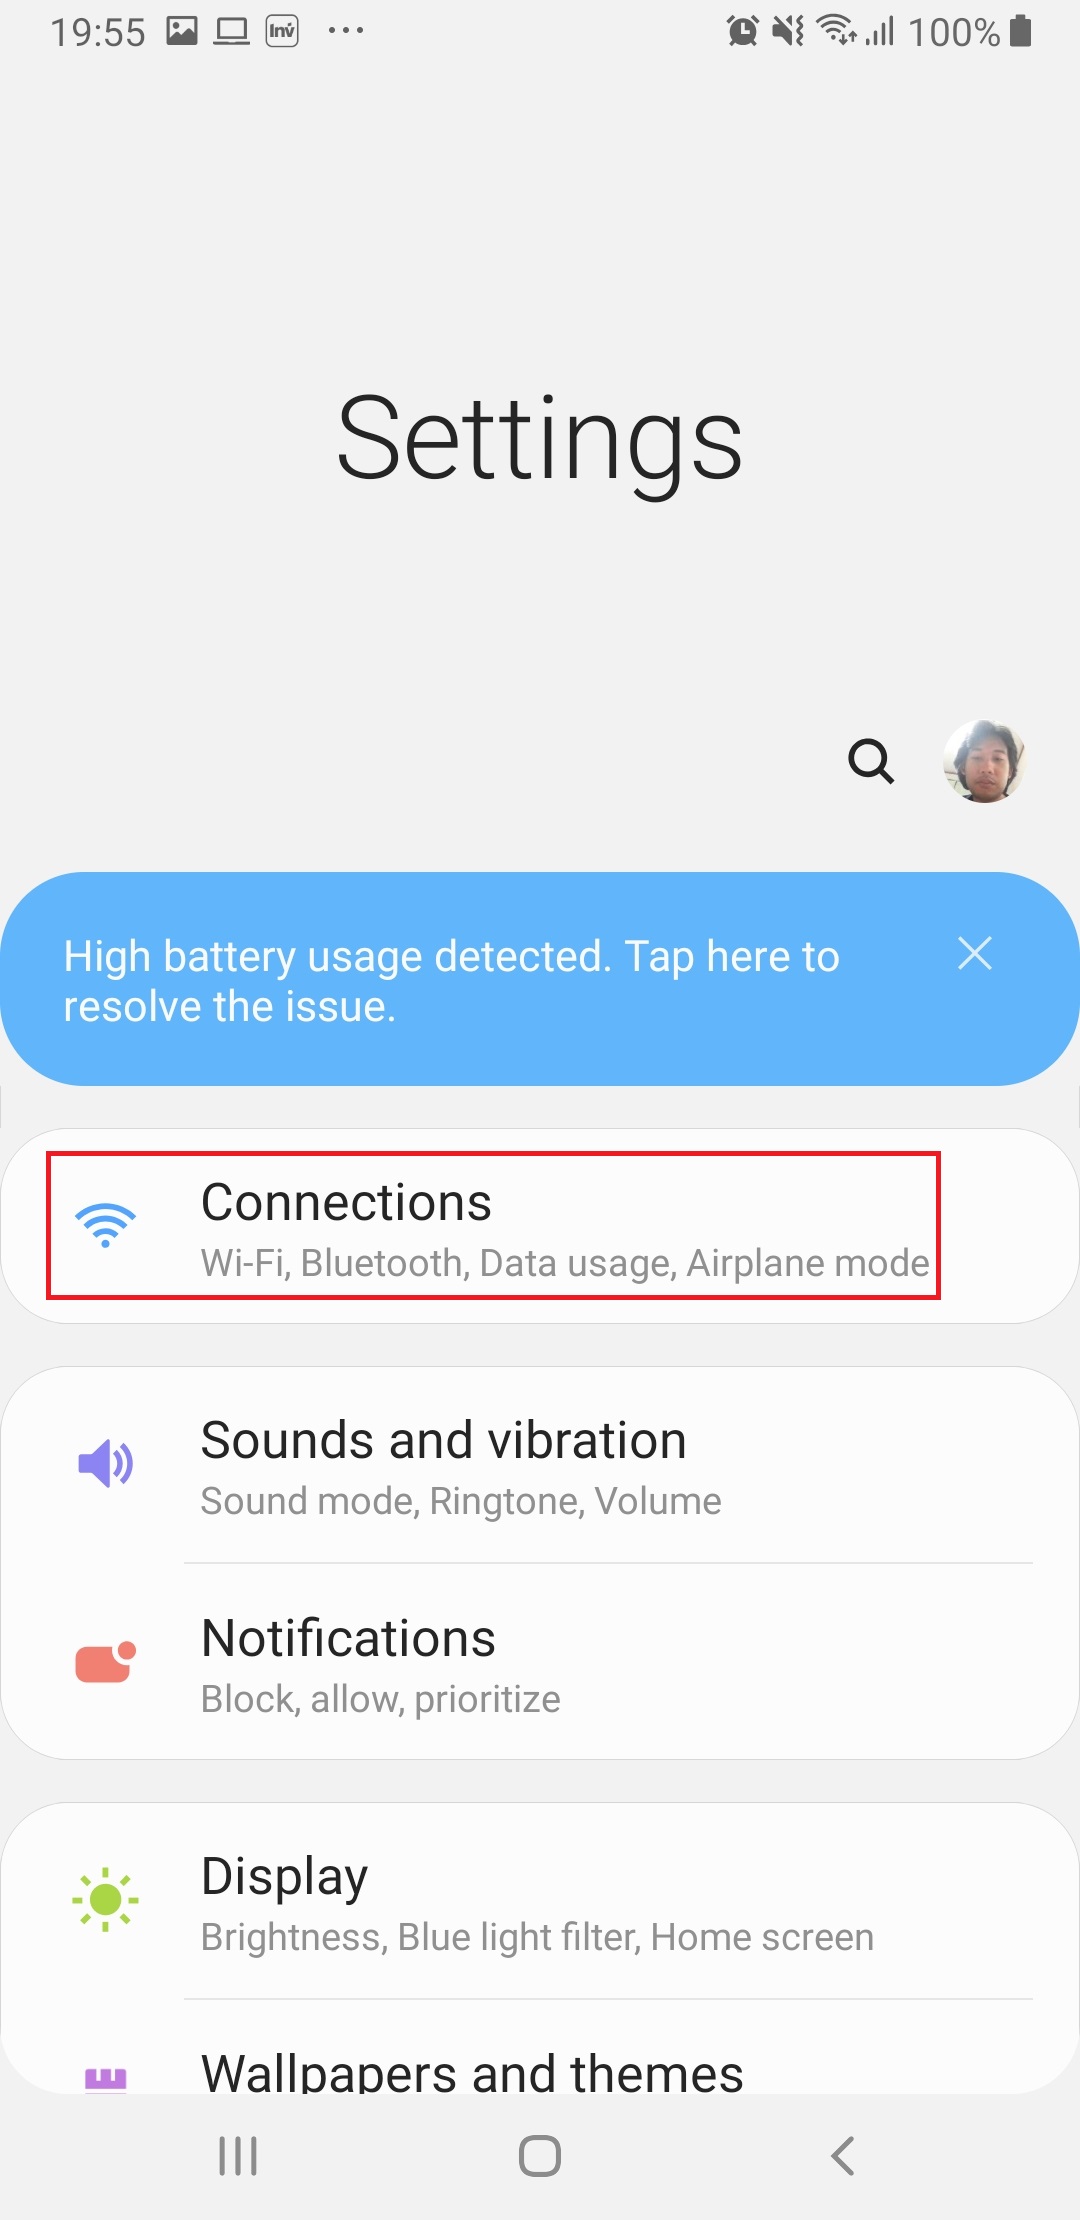
Figure 14. choose connections.
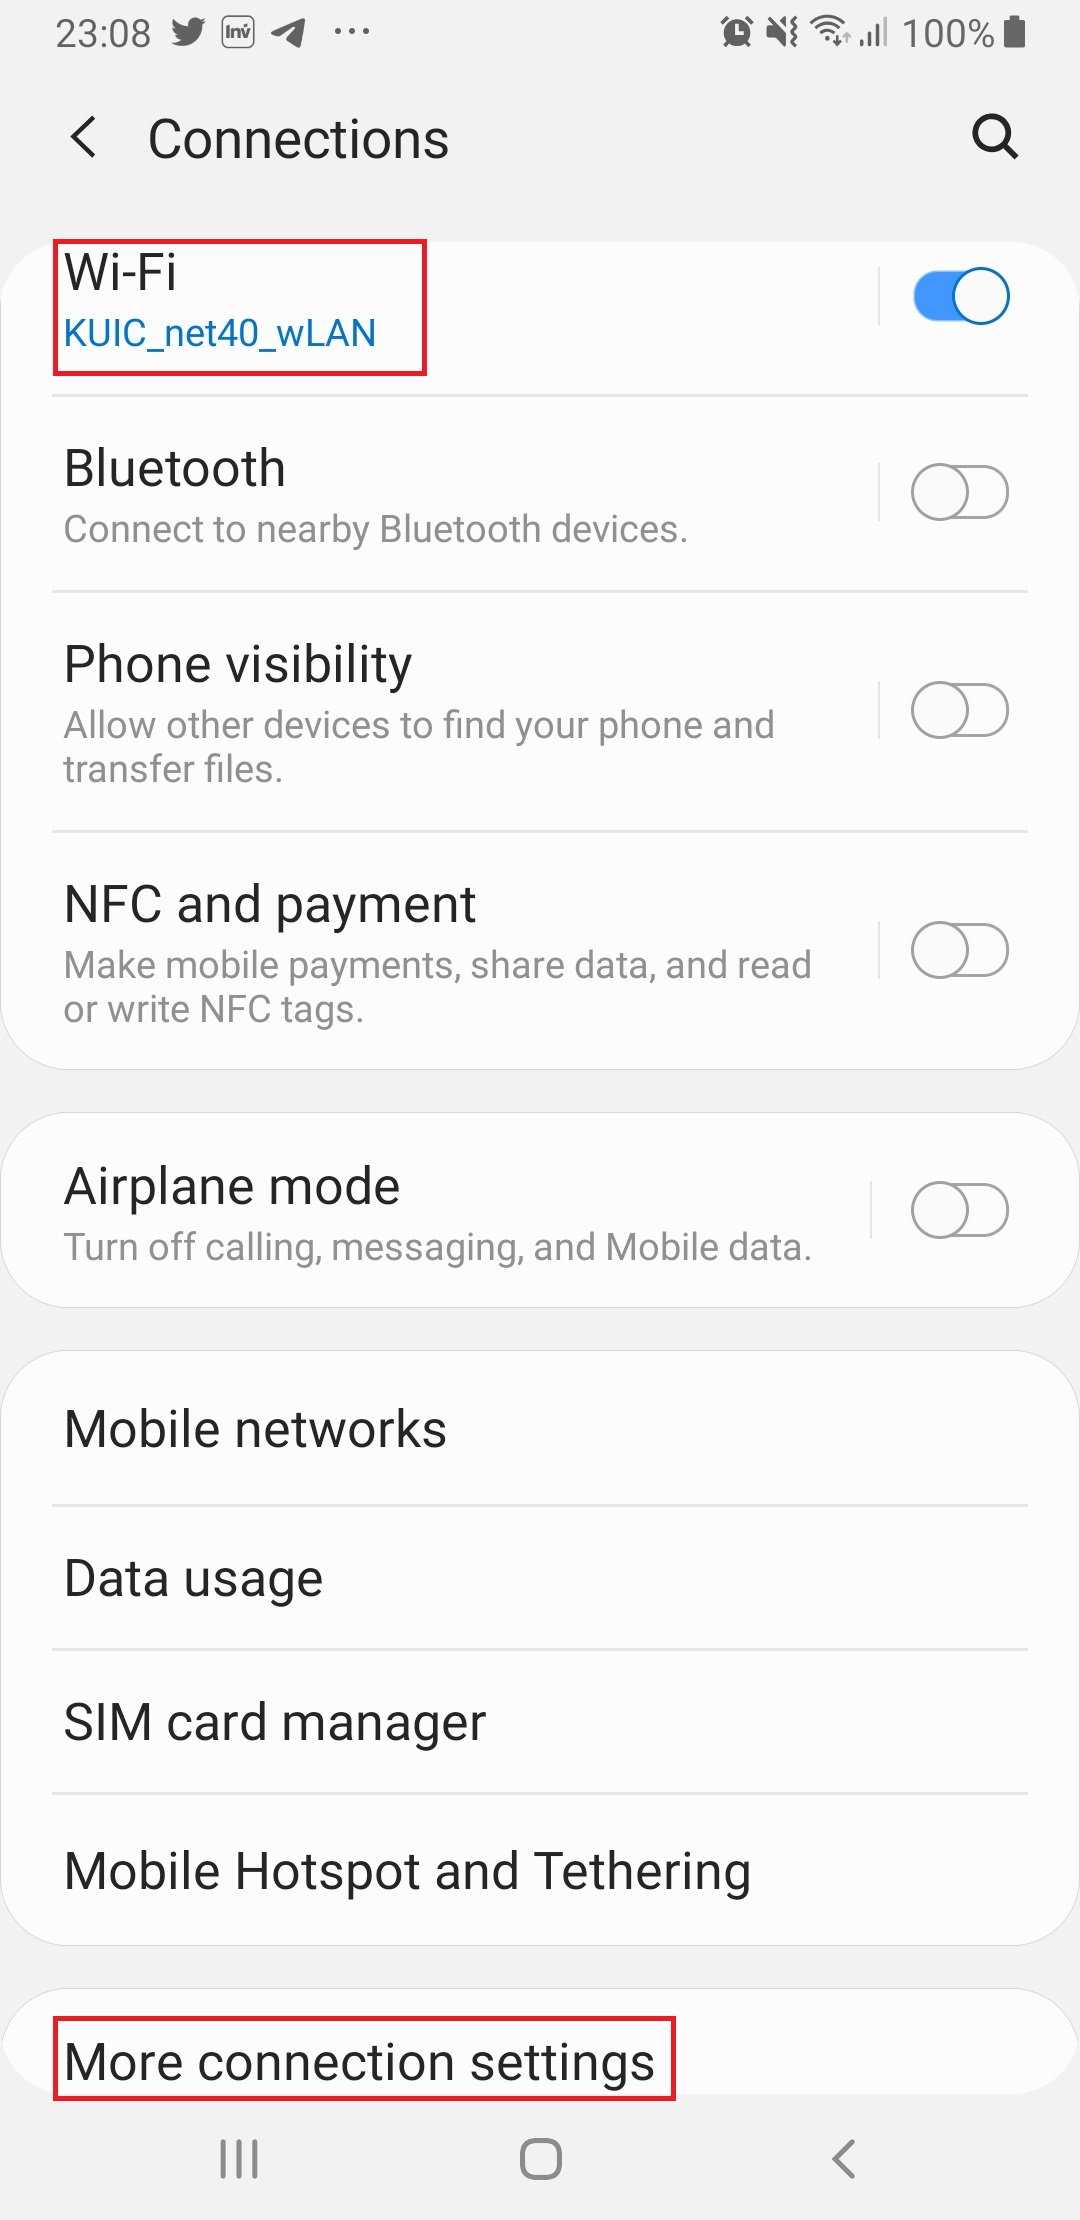
Figure 15. choose wifi or mobile network.
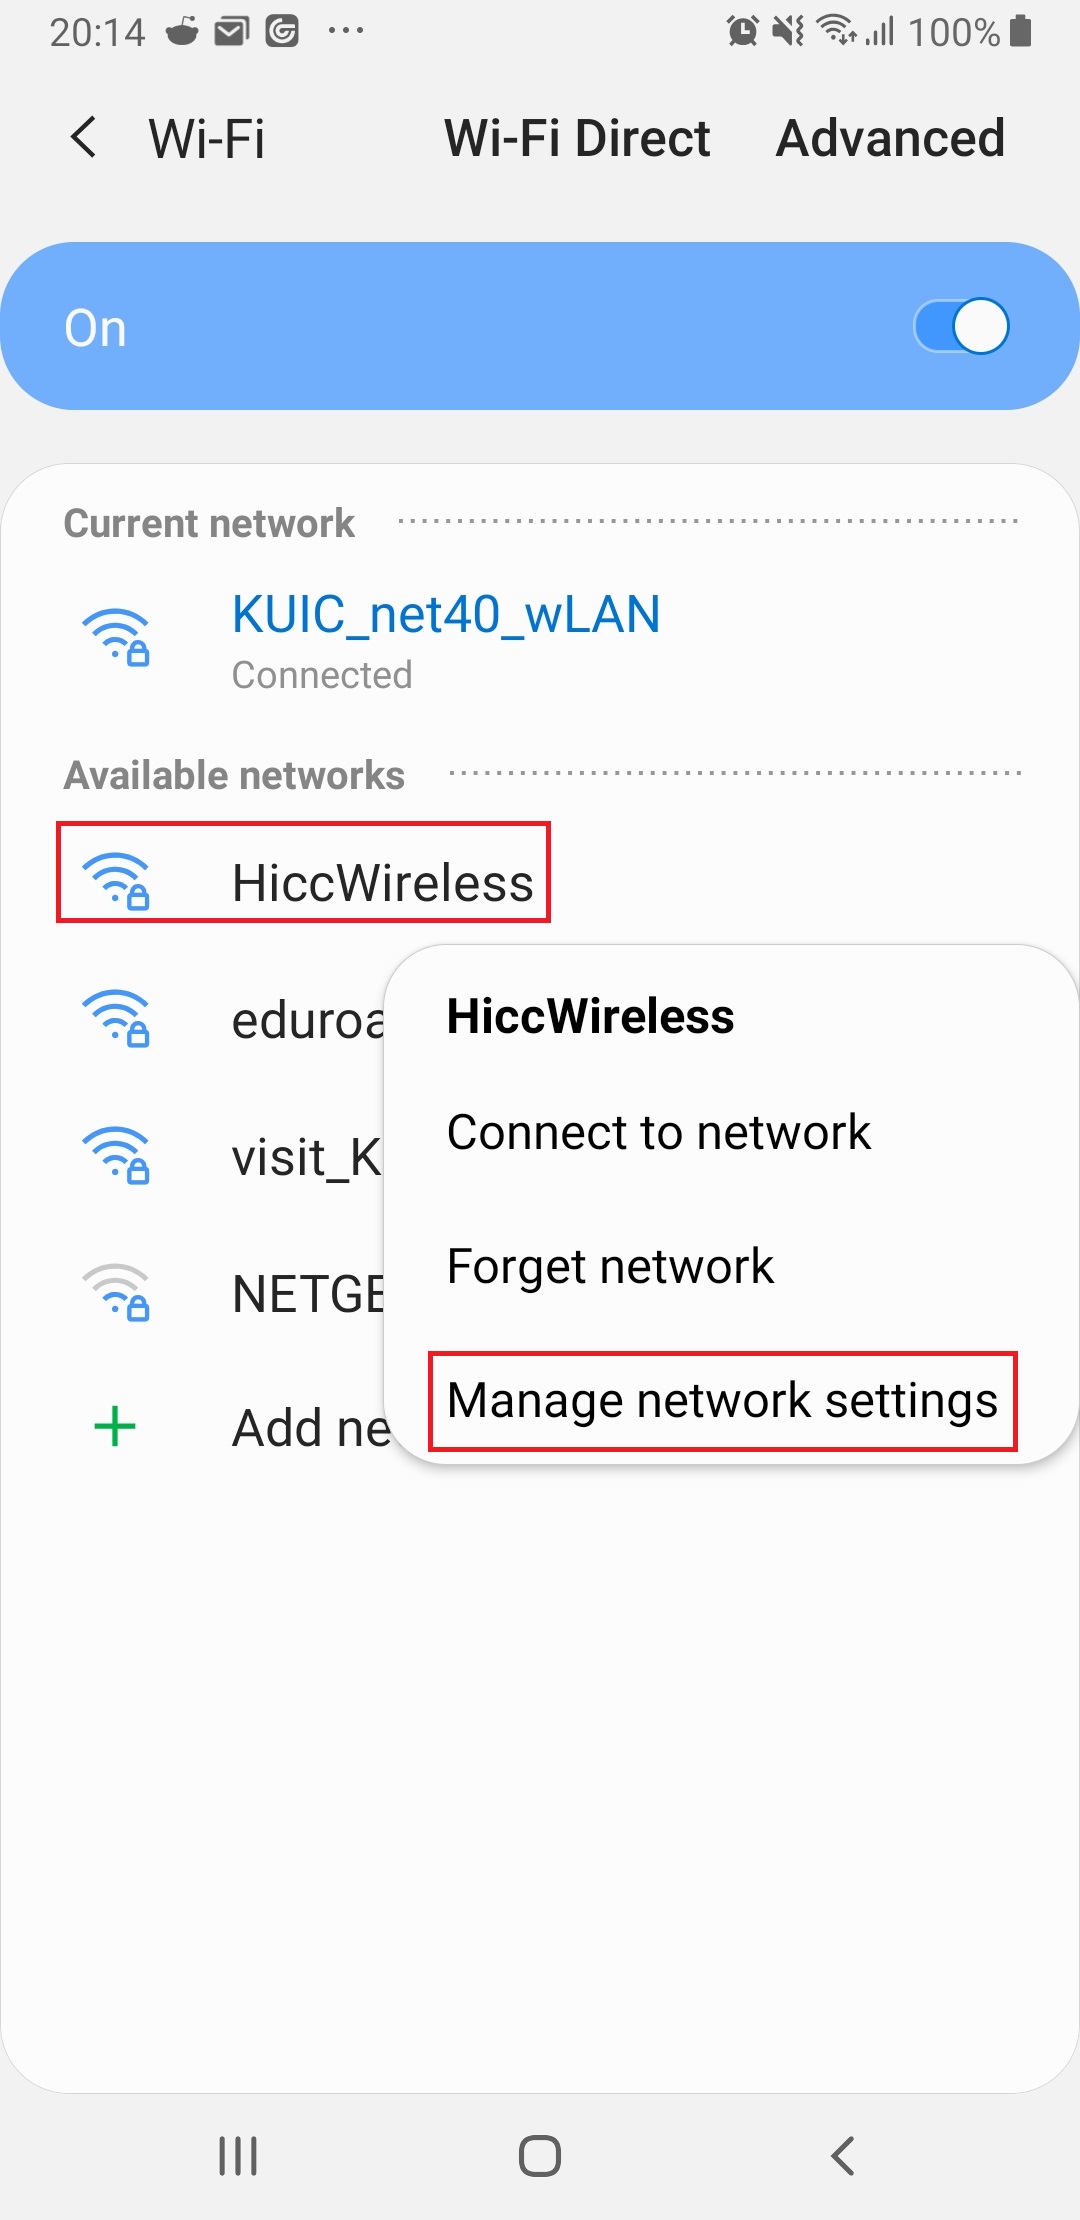
Figure 16. if you choose wifi then long press one of the hotspot then choose manage network settings.
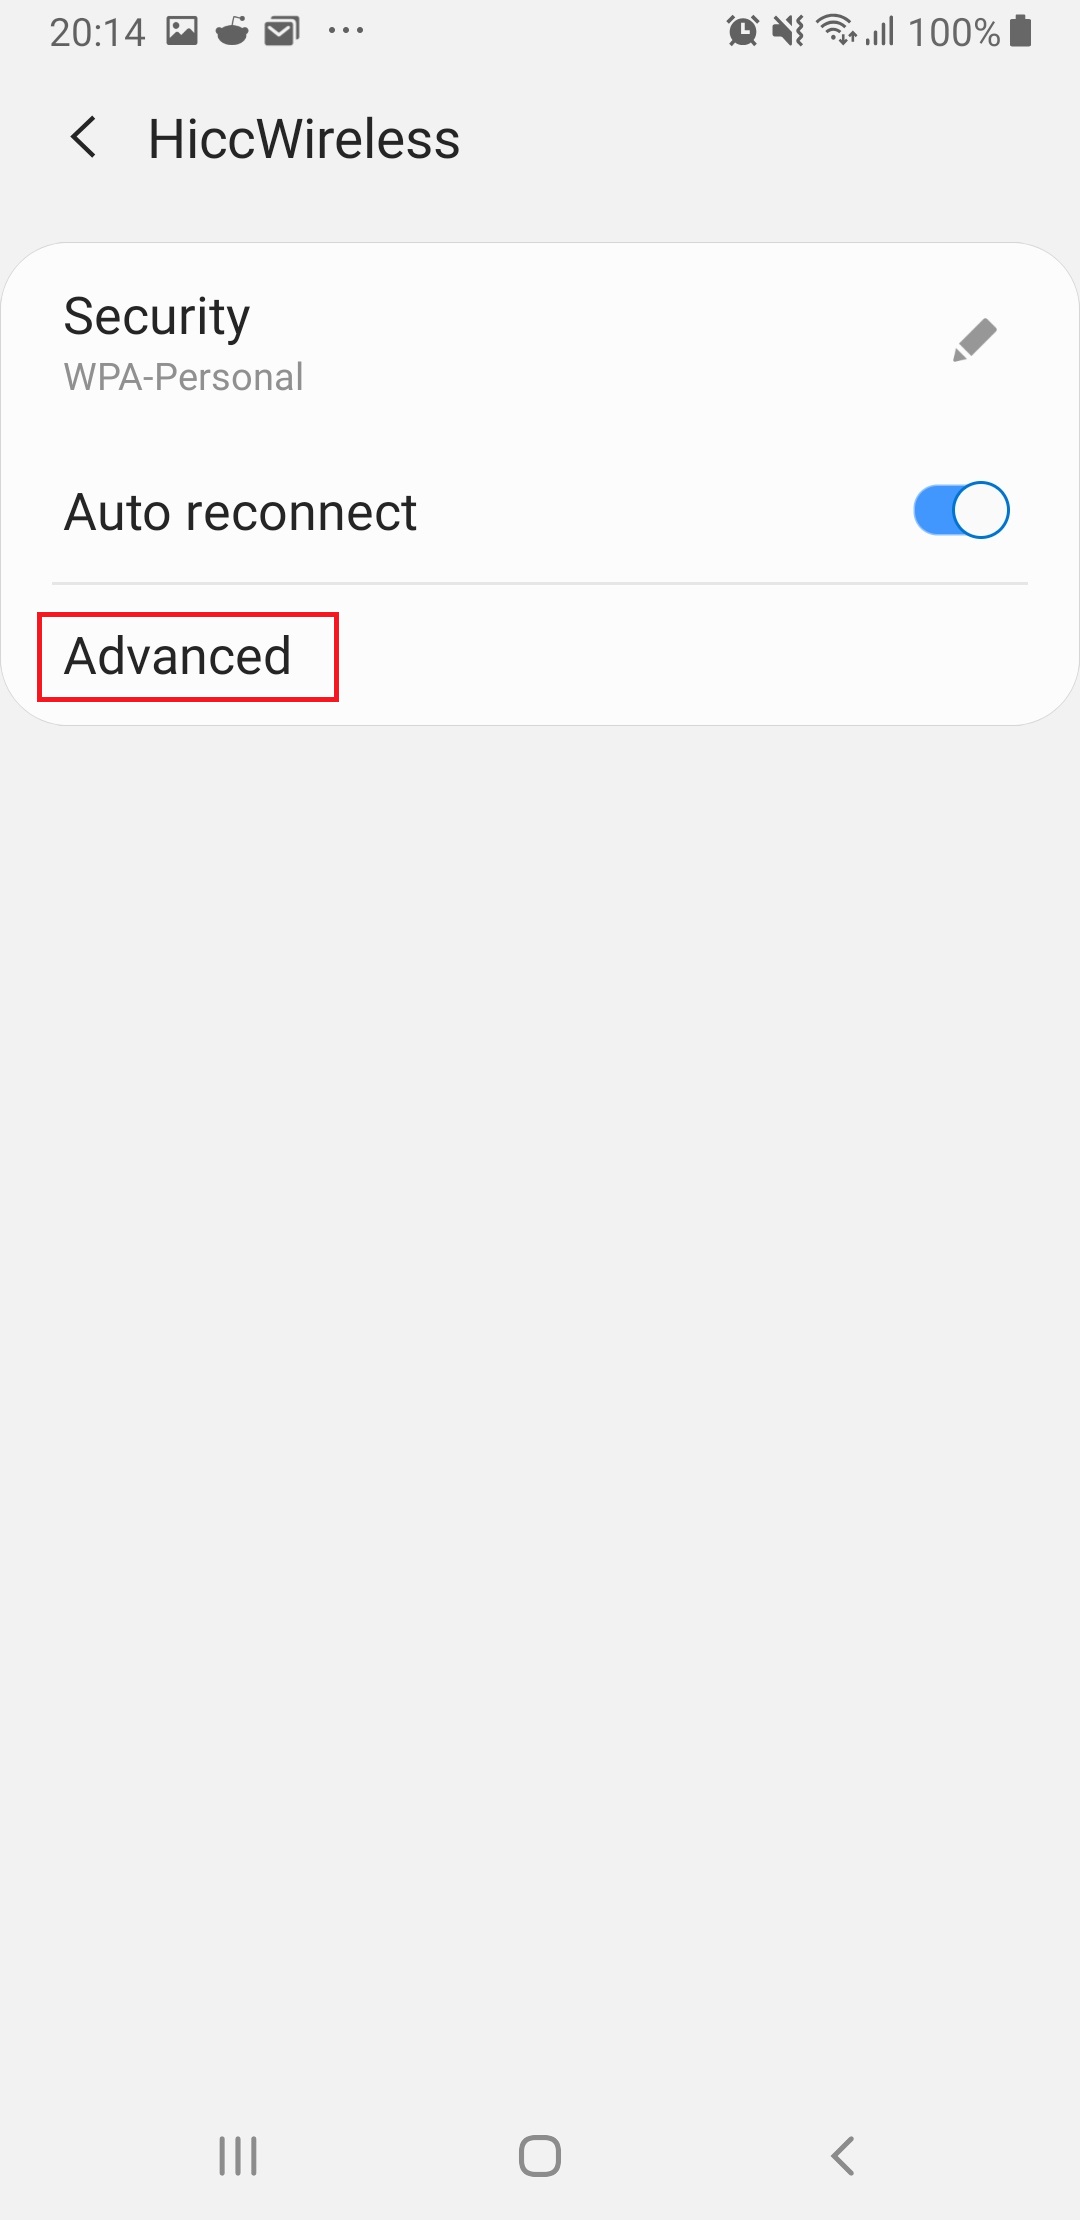
Figure 17. choose advance.
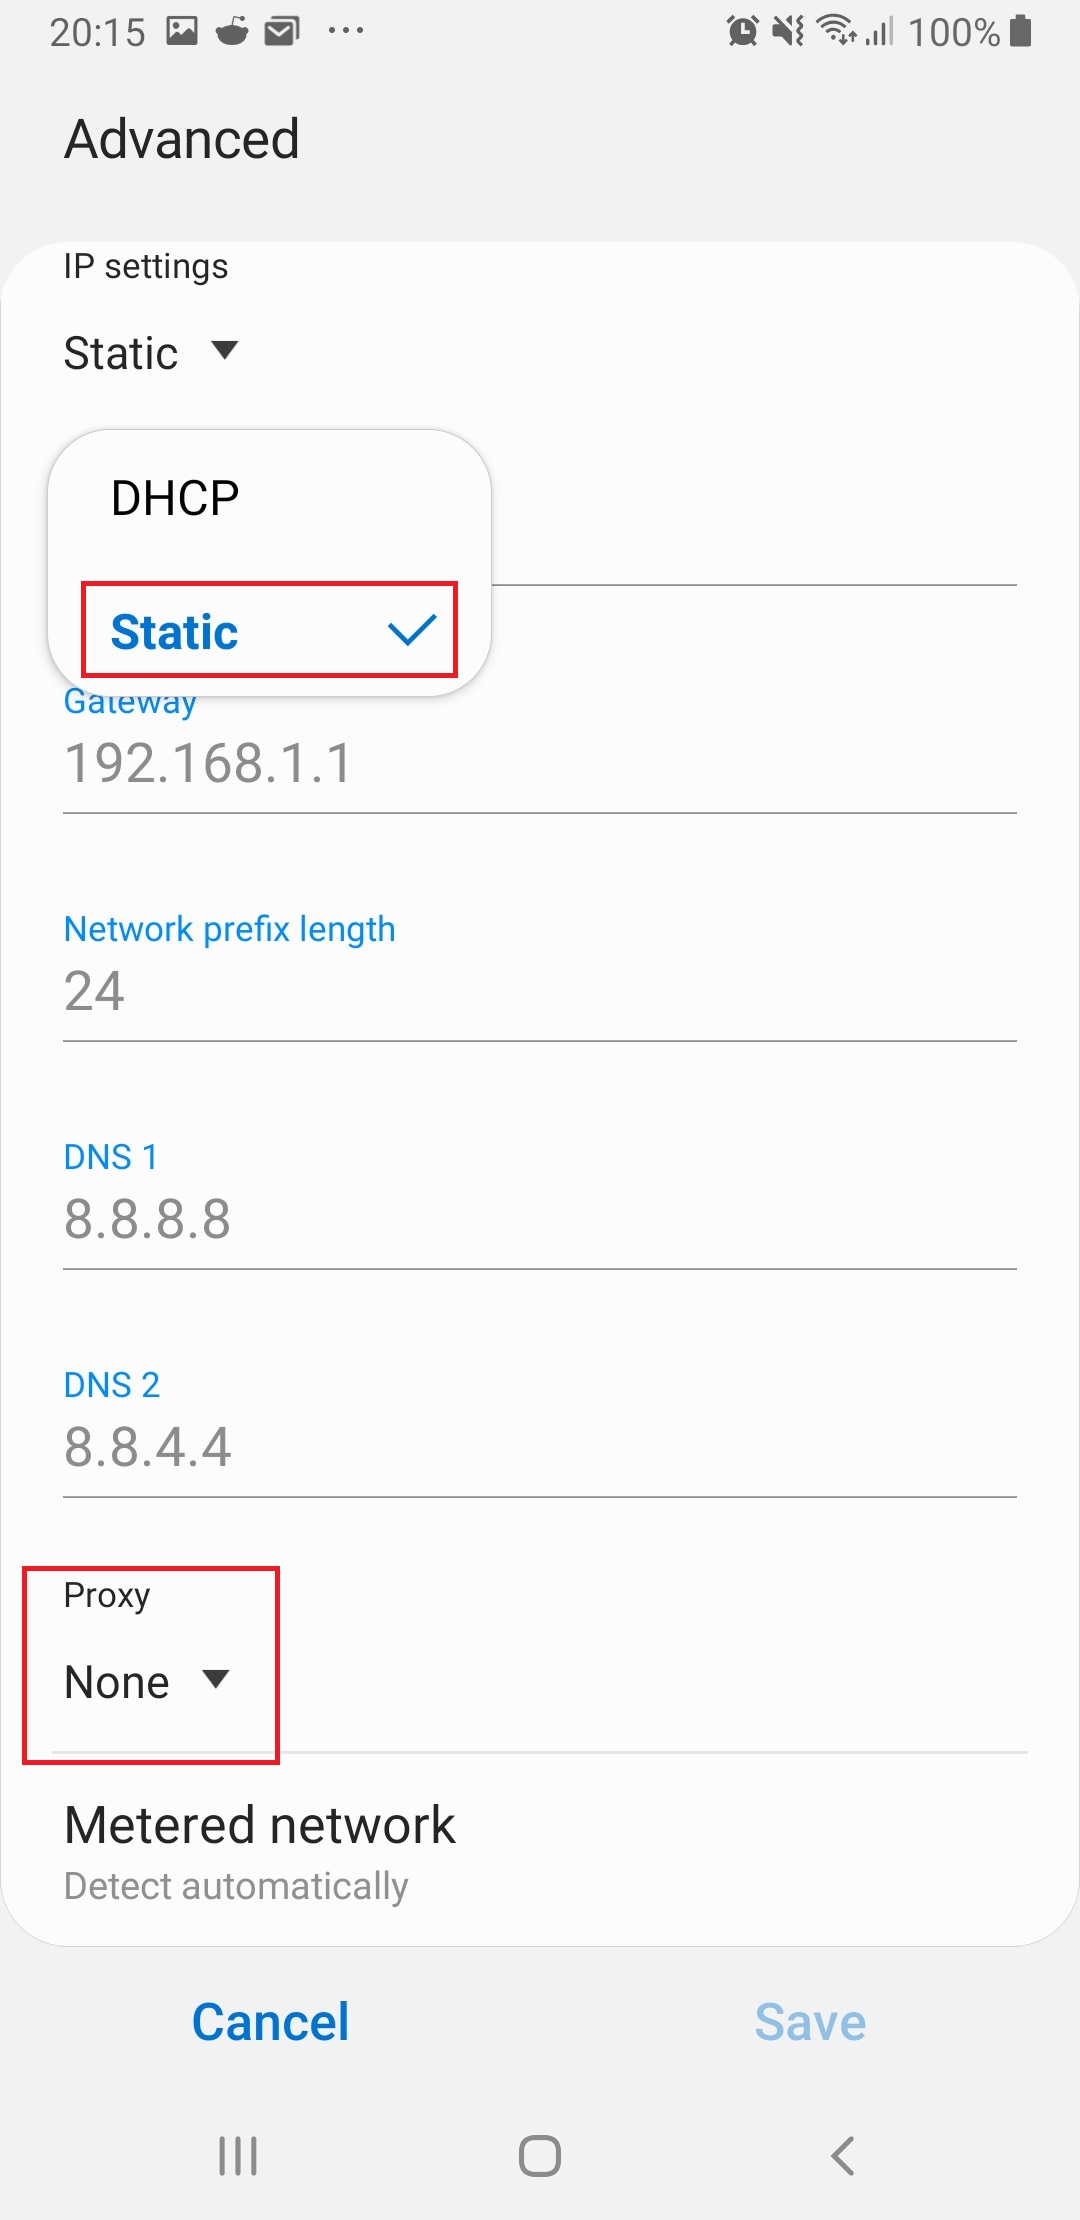
Figure 18. choose static the set proxy.
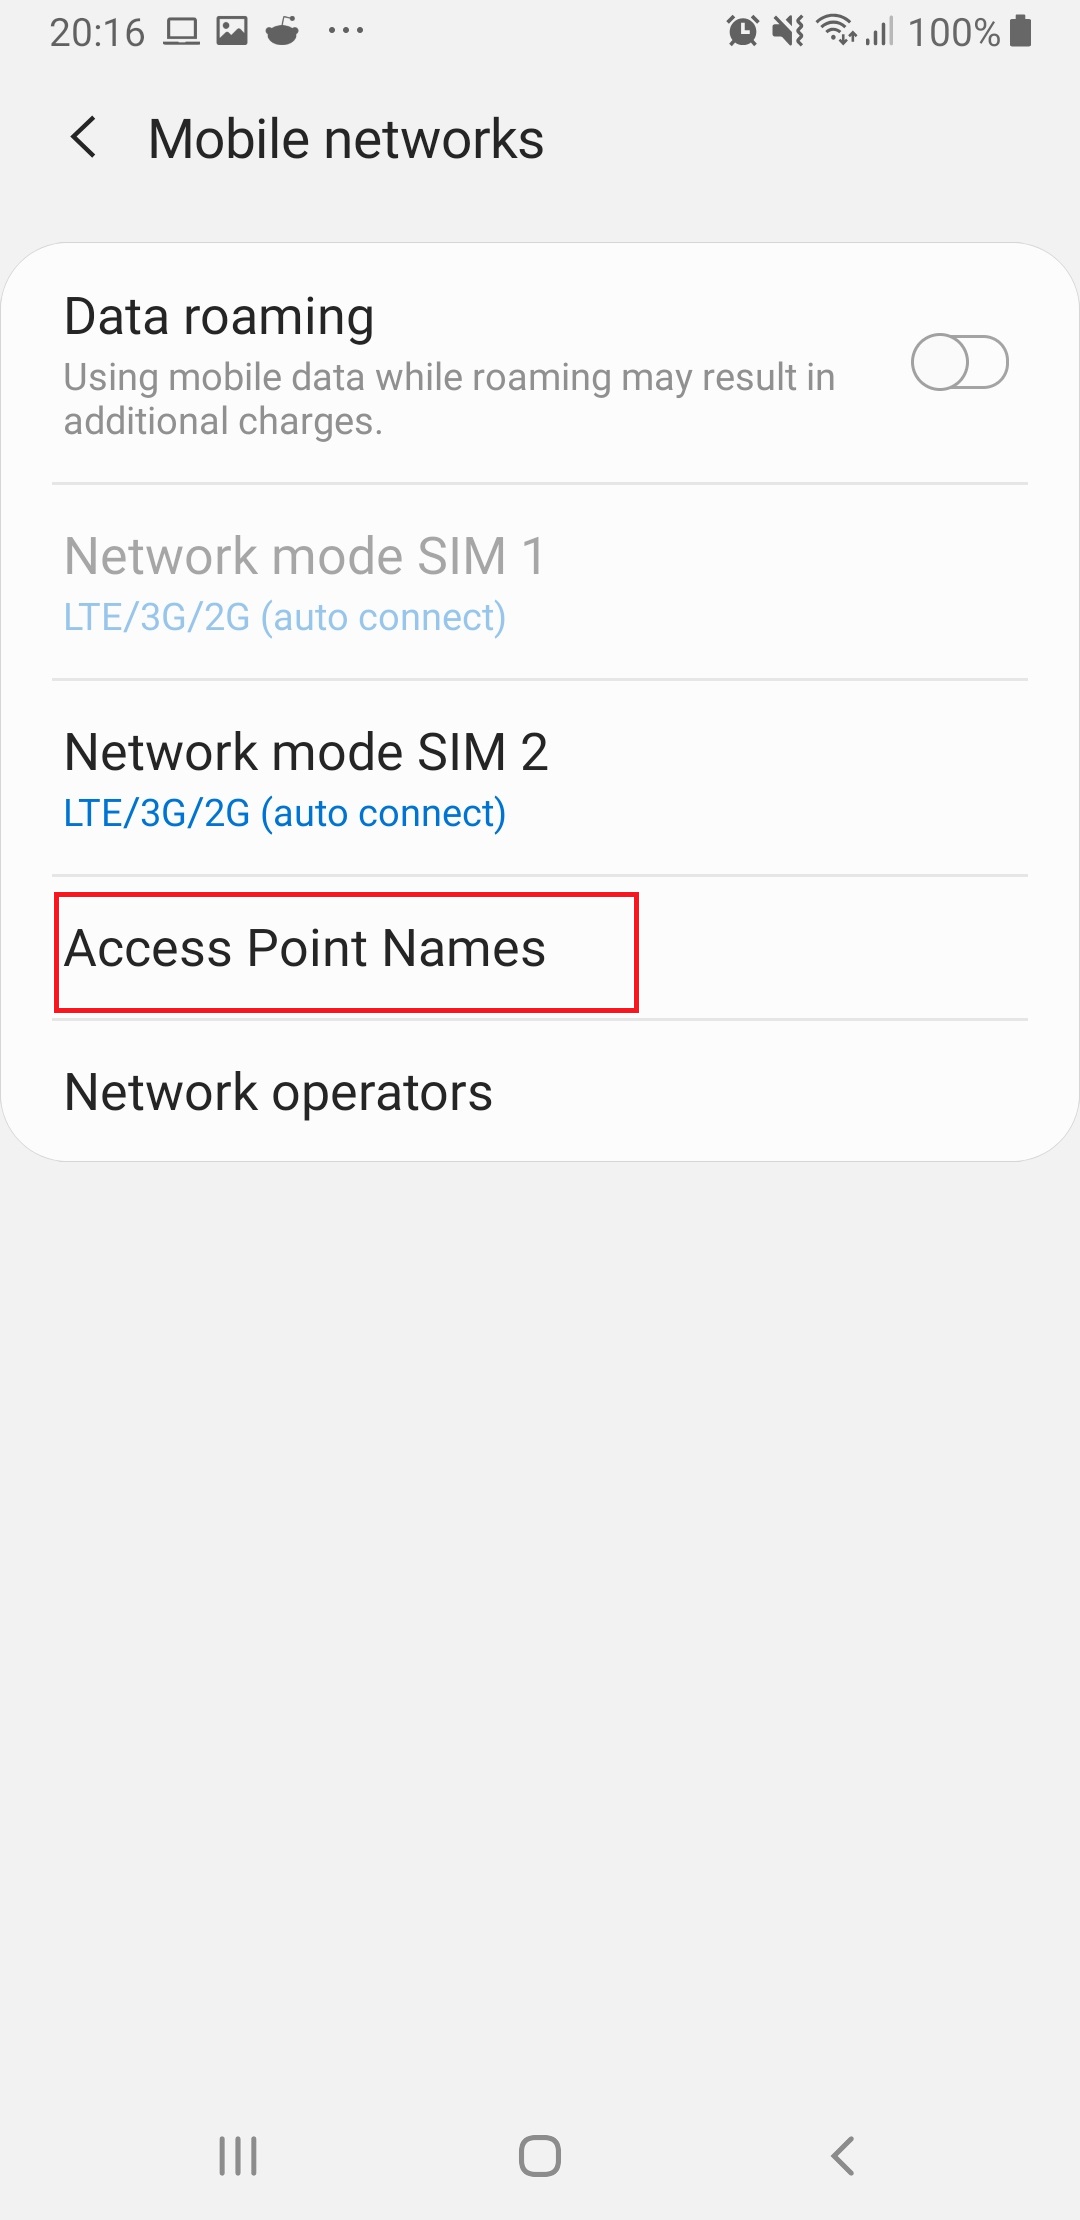
Figure 19. if you mobile network then go to access point.

Figure 20. choose or make your profile.
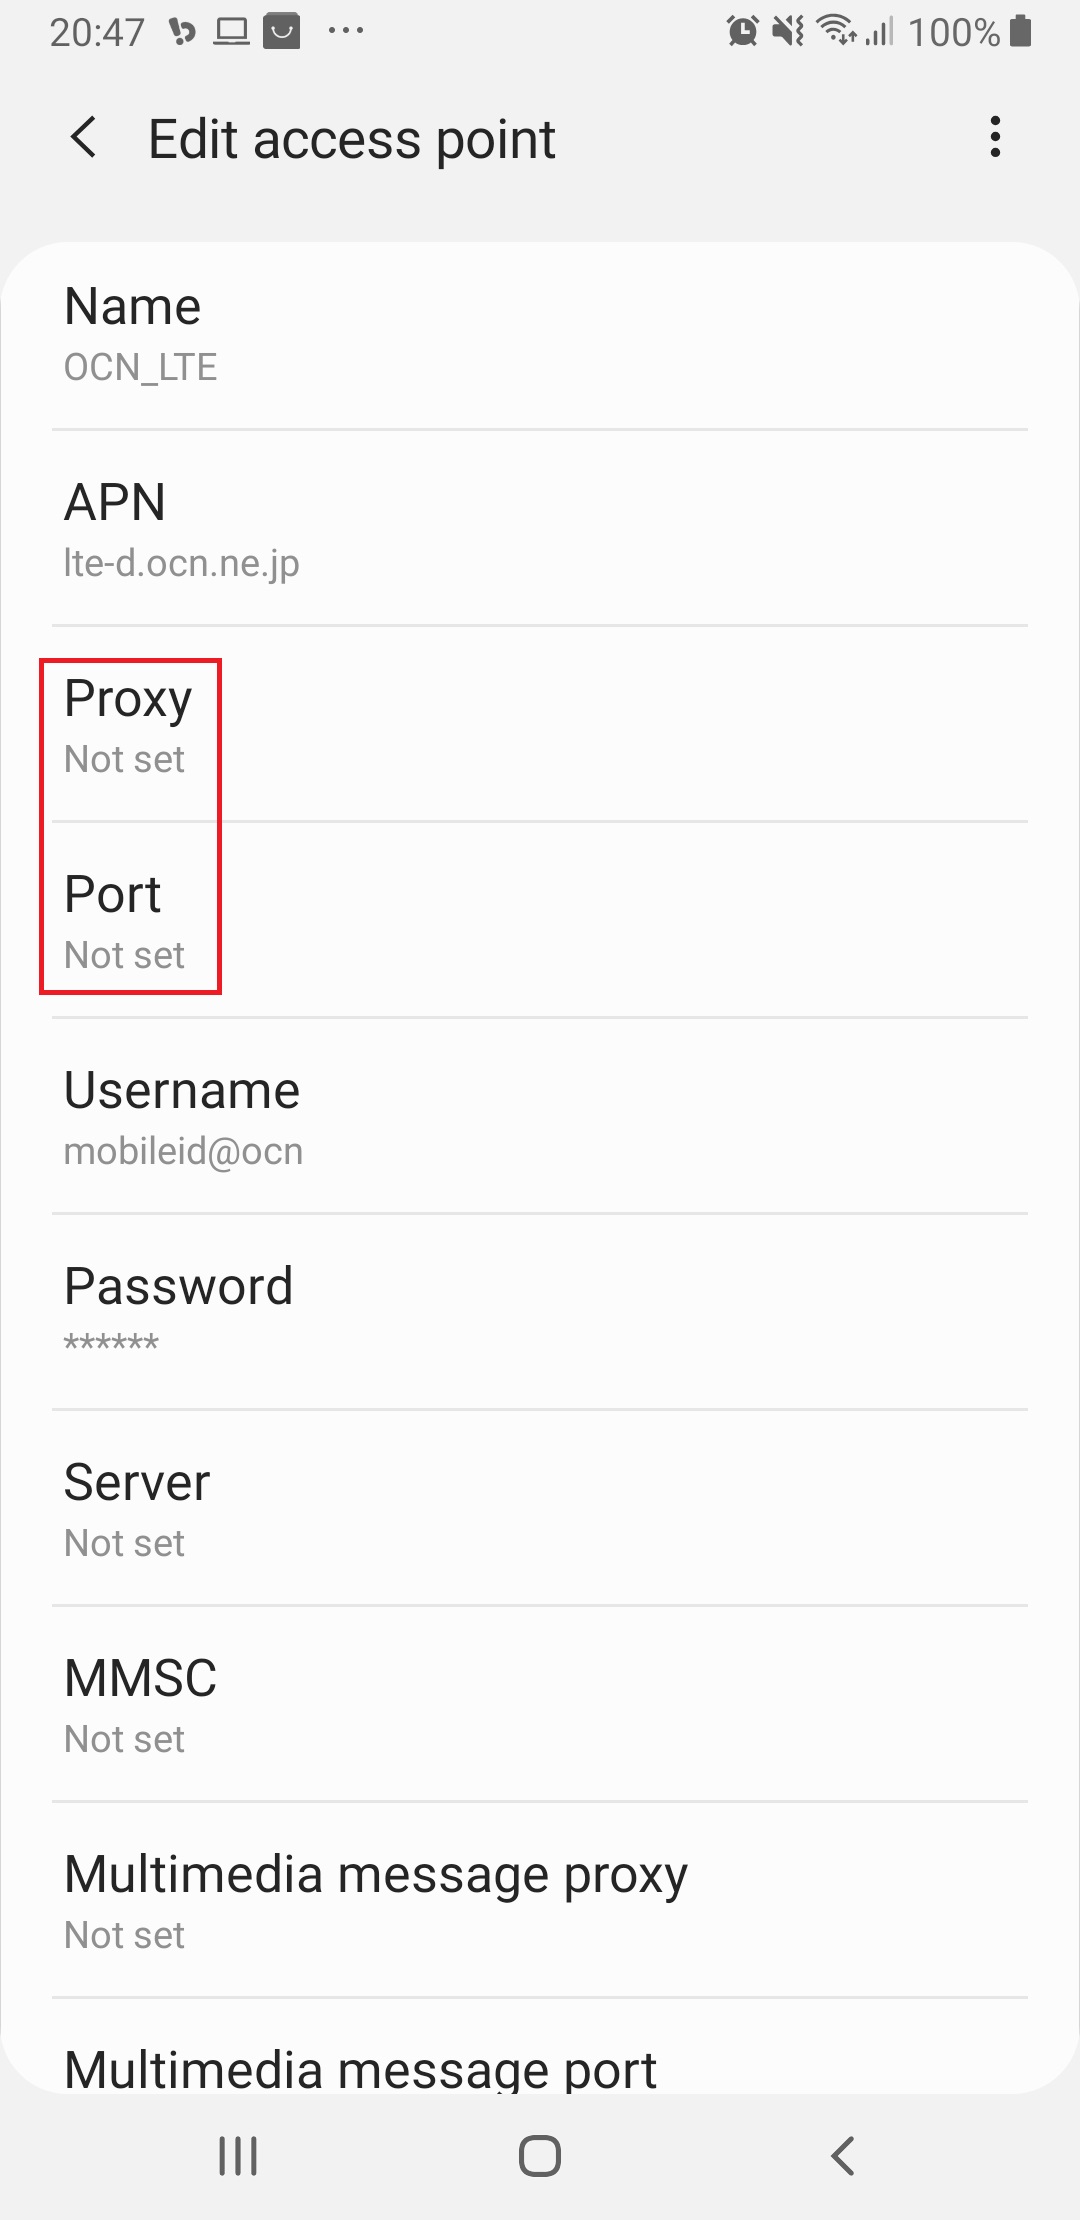
Figure 21. find and set proxy.
Building Proxy Server Linux
I used “squid” as my proxy server on Debian Linux. Install squid server:
sudo apt install squid
sudo cp /etc/squid/squid.conf /etc/squid/squid.conf.original
edit “/etc/squid/squid.conf”.
Basic setup:
- http_port
- acl
- http_access
authenticated setup:
auth_param basic program /usr/lib/squid/basic_ncsa_auth /etc/squid3/passwords
auth_param basic realm proxy
acl authenticated proxy_auth REQUIRED
http_access allow authenticated
Restart squid server:
sudo htpasswd -c /etc/squid3/passwords username_you_like
Mirror
- https://www.publish0x.com/0fajarpurnama0/bypass-censorship-by-proxy-xdeljy?a=4oeEw0Yb0B&tid=github
- https://0fajarpurnama0.github.io/internet/2020/04/19/bypass-censorship-proxy
- https://medium.com/@0fajarpurnama0/bypass-censorship-by-proxy-6ef482ec5d33
- https://hicc.cs.kumamoto-u.ac.jp/~fajar/internet/bypass-censorship-proxy
- https://0fajarpurnama0.tumblr.com/post/615753022649352192/bypass-censorship-by-proxy
- https://0darkking0.blogspot.com/2018/08/bypass-blocks-by-web-proxy.html
- https://hive.blog/censorship/@fajar.purnama/bypass-censorship-by-proxy?r=fajar.purnama
- https://0fajarpurnama0.cloudaccess.host/index.php/uncategorised/35-bypass-censorship-by-proxy
- https://steemit.com/censorship/@fajar.purnama/bypass-censorship-by-proxy?r=fajar.purnama
- http://0fajarpurnama0.weebly.com/blog/bypass-censorship-by-proxy
- https://0fajarpurnama0.wixsite.com/0fajarpurnama0/post/bypass-censorship-by-proxy
- http://www.teiii.cn/bypass-censorship-by-proxy